In my Pluralsight course “Implementing Windows Server 2016 Identity Federation and Access“, I use a sample application as a relying party that leverages ADFS for it’s authentication.
If you don’t have a Pluralsight subscription you can access the course through a free trial here:
Start a 10-day free trial at Pluralsight – Over 5,000 Courses Available
If you want to create the ADFS claims app from scratch and see how to configure the Relying Party in ADFS, you can view my blog post here.
This post will describe how to deploy the application to an IIS server. Prerequisites to do this:

- You have installed the Web Role on your Windows Server 2016 in order to enable IIS
- You have a valid SSL certificate, configured for the domain name you wish use for the deployed application, OR
- You have installed Active Directory Certificate Services (ADCS) and will be creating a certificate for the web server using this certificate infrastructure. This post assumes that you’re working in a lab environment with ADCS installed, so I’ll walk you through the steps of generating the web server certificate. I won’t cover how to install and configure ADCS – but there are plenty of resources on the web.
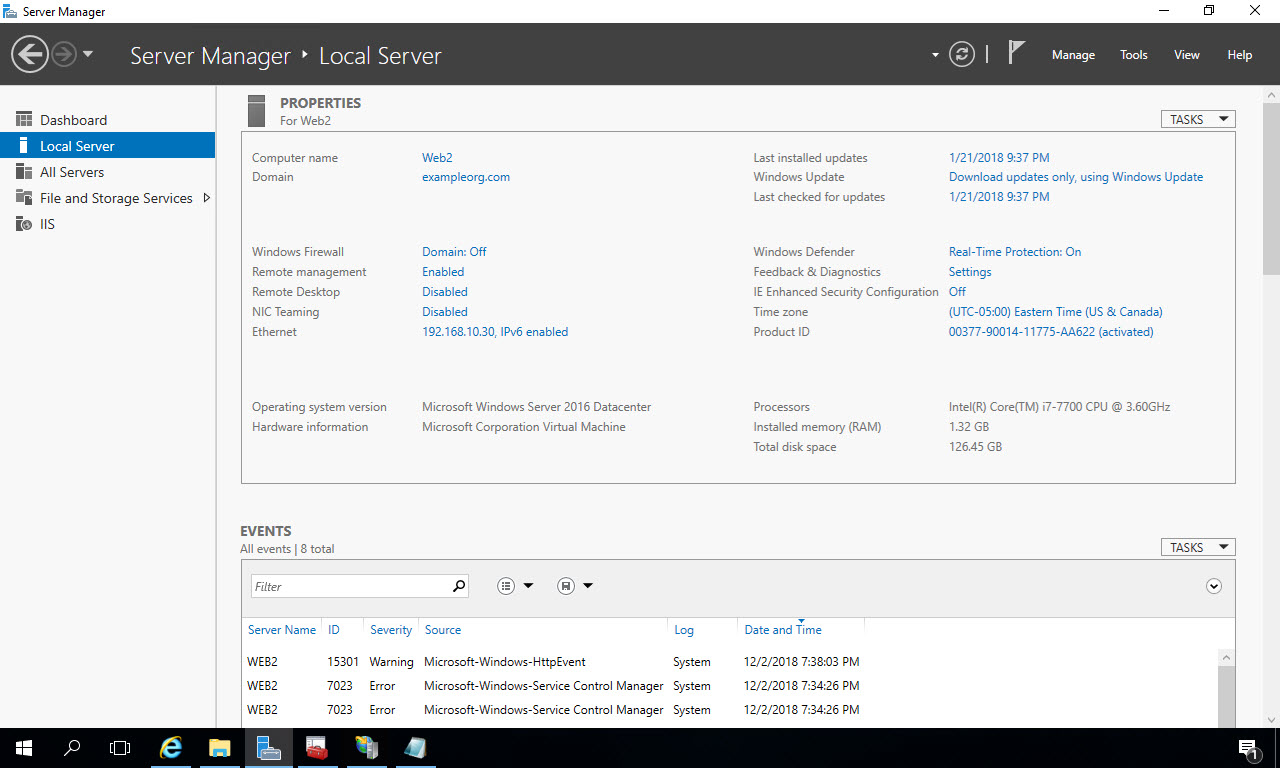
Navigate to the server where you have IIS installed and where you want to deploy the application. In my case, it’s a Windows Server 2016 virtual machine called “Web2”, running locally on Hyper-V in my test lab where it’s joined to a domain called “exampleorg.com” – which was created by installing Active Directory Domain Services on a seperate VM and joining this Web Server VM to the network.
Install SSL Certificate
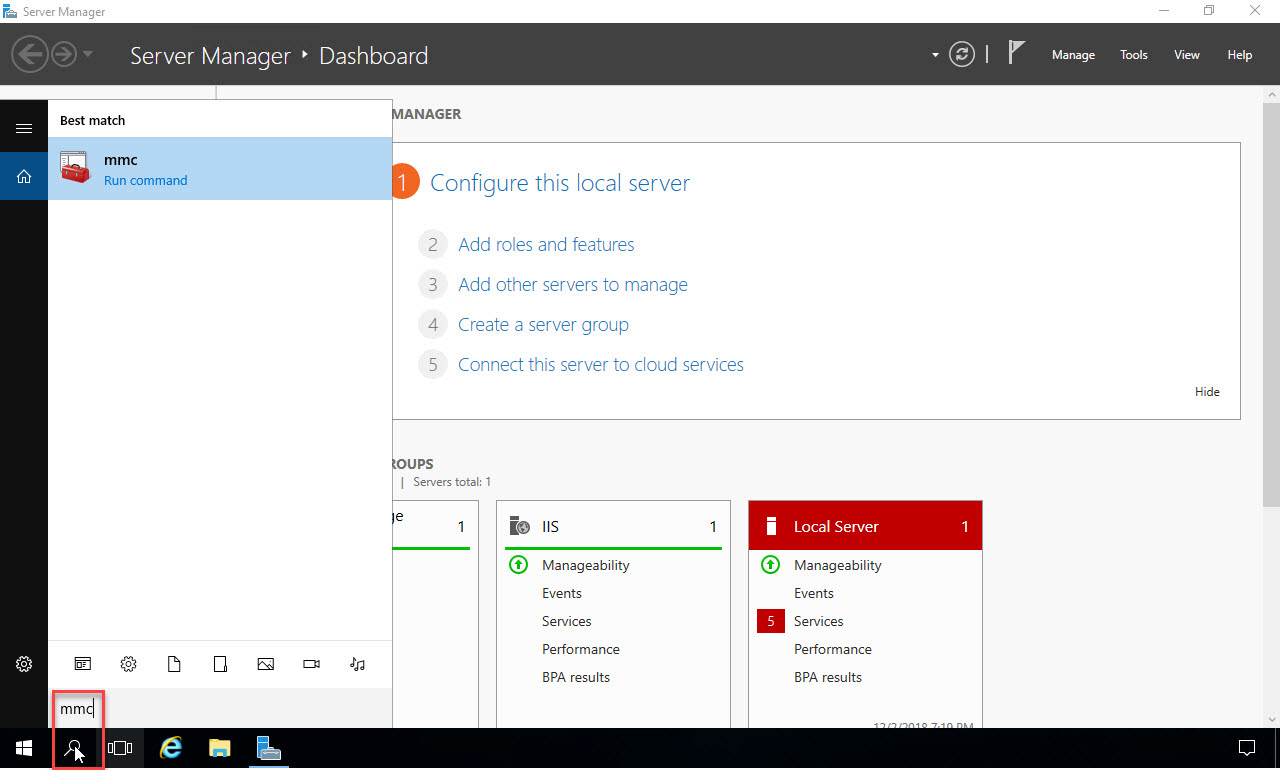
Let’s start by installing the SSL certificate that will be used to encrypt traffic to the website, enabling our site to use https. In the search box at the bottom left, type in “mmc” and click on the search result to open the management console:
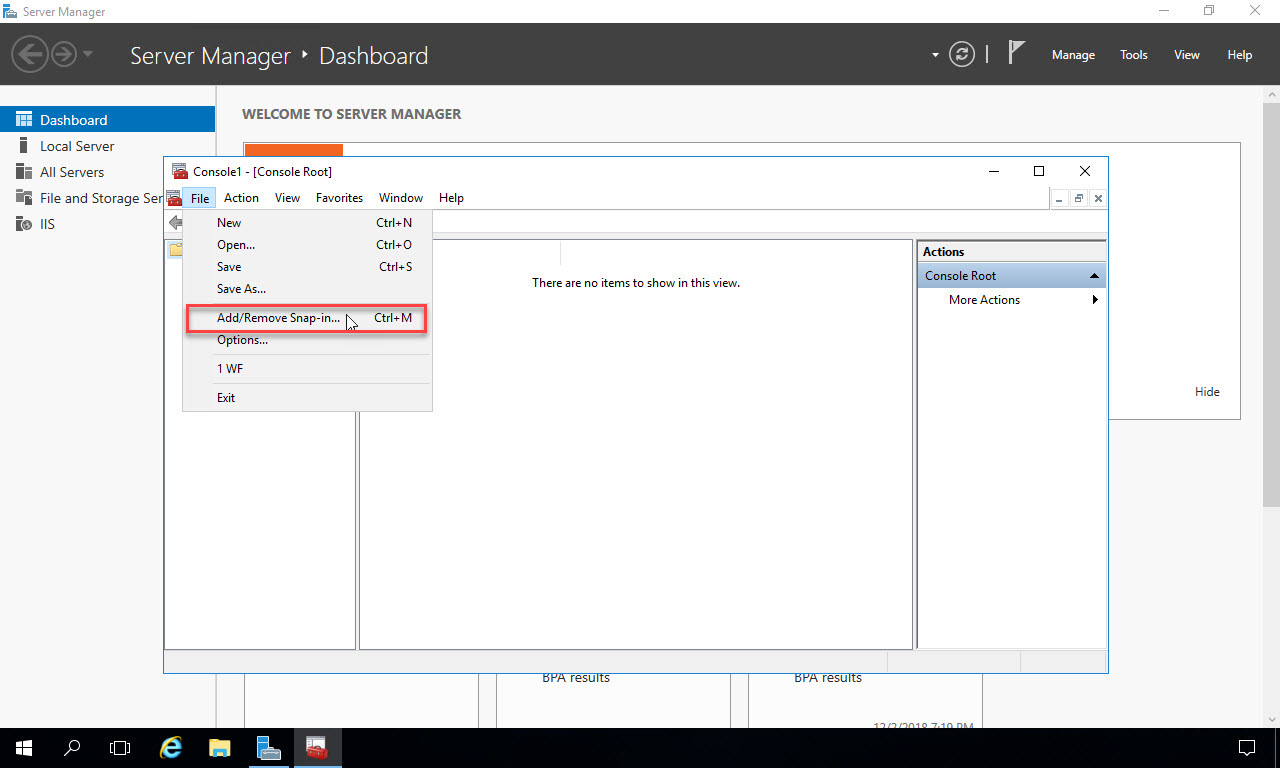
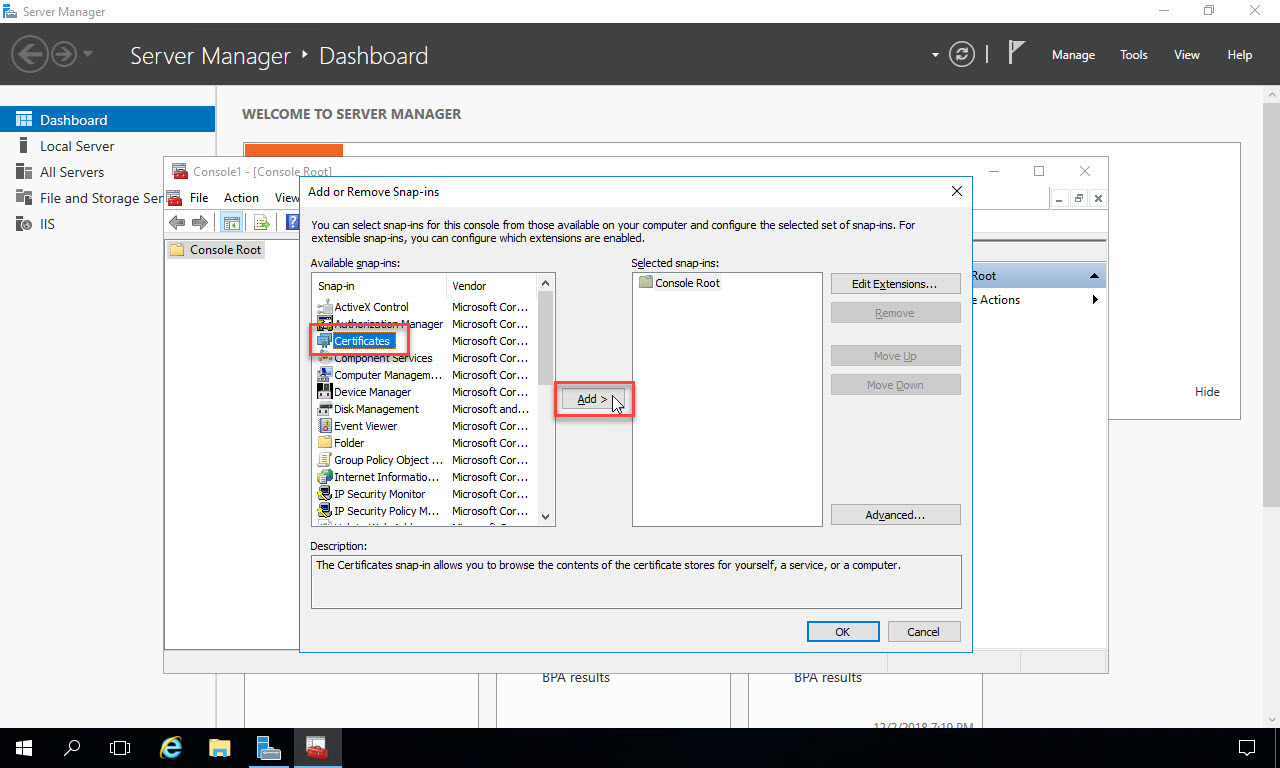
When the console opens, from the File menu select “Add/Remove Snap-in”:
In the list of available snap-ins, select “Certificates”, then click the “Add” button in the middle to bring Certificates into the list of selected snap-ins on the right:
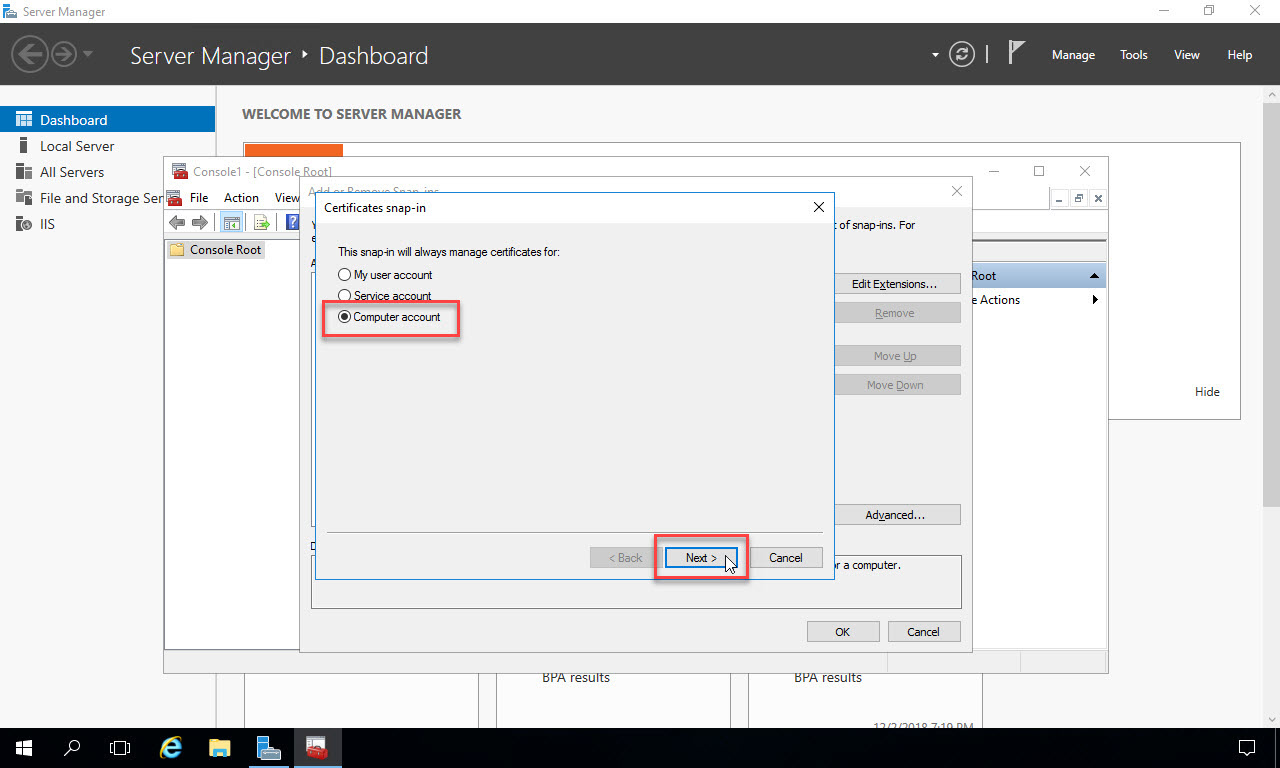
On the next page of the dialog, select “Computer account” and click “Next”:
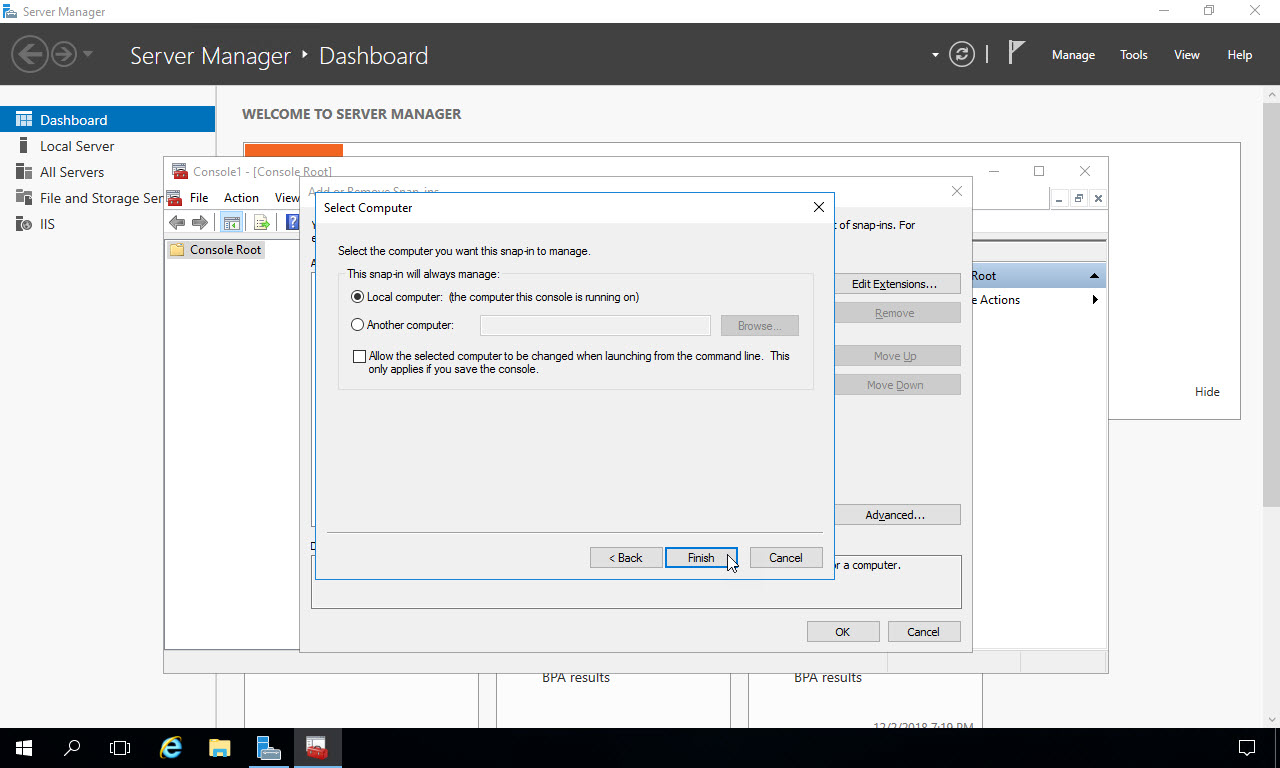
Select “Local computer” and click “Finish”:
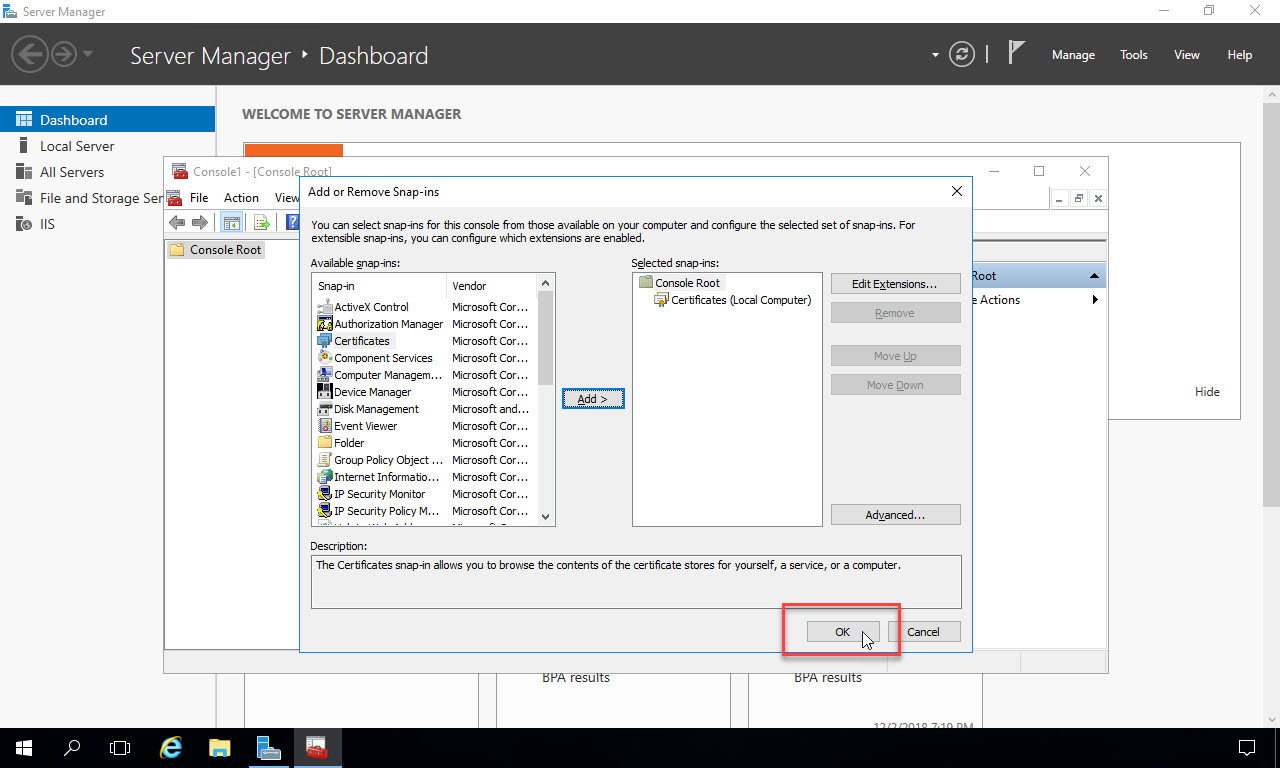
On the snap-ins window, click OK to close it:
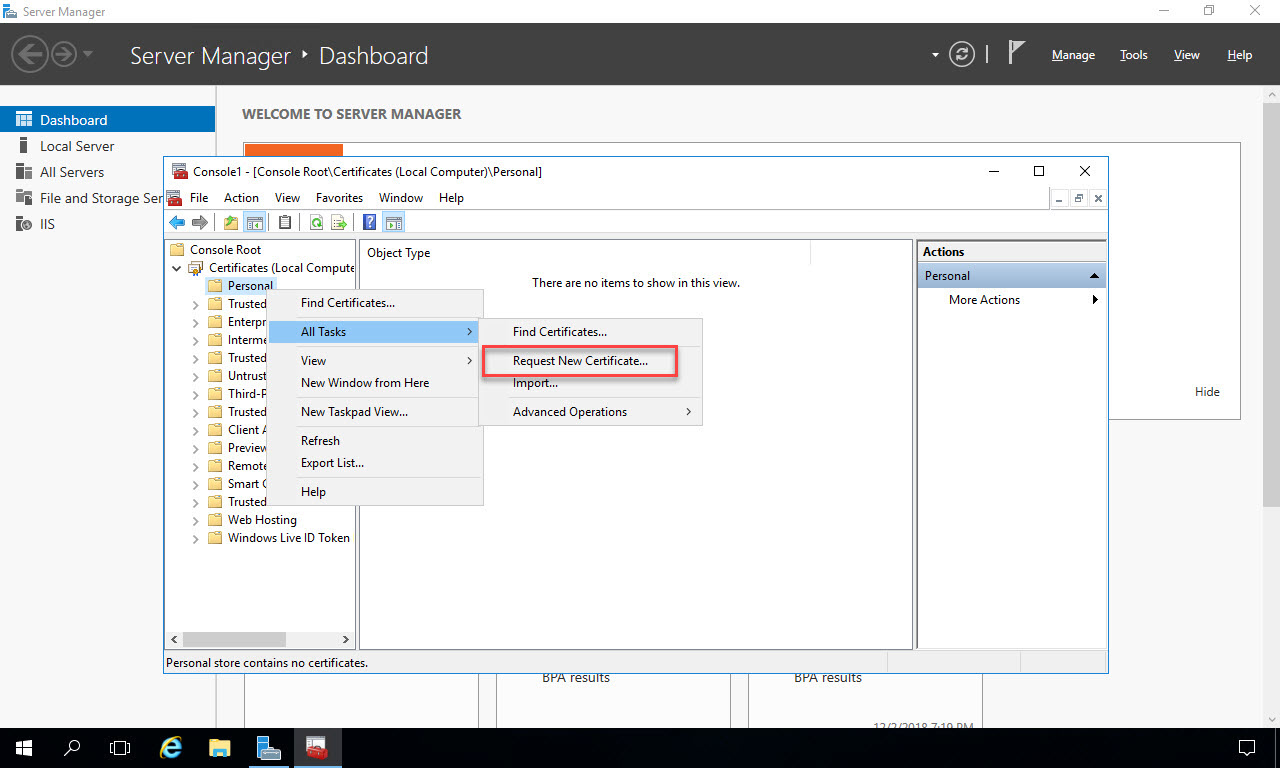
The Certificates snap-in opens in the console. Right click on the “Personal” folder and in the context menu select “All Tasks -> Request New Certificate”. This assumes that you’ve configured Active Directory Certificate Services in your environment and you’ll be issuing certificates from there. If you’ve generated the certificate somewhere else, or purchased it from a third party Certificate Authority, you can choose “Import” from the menu instead.
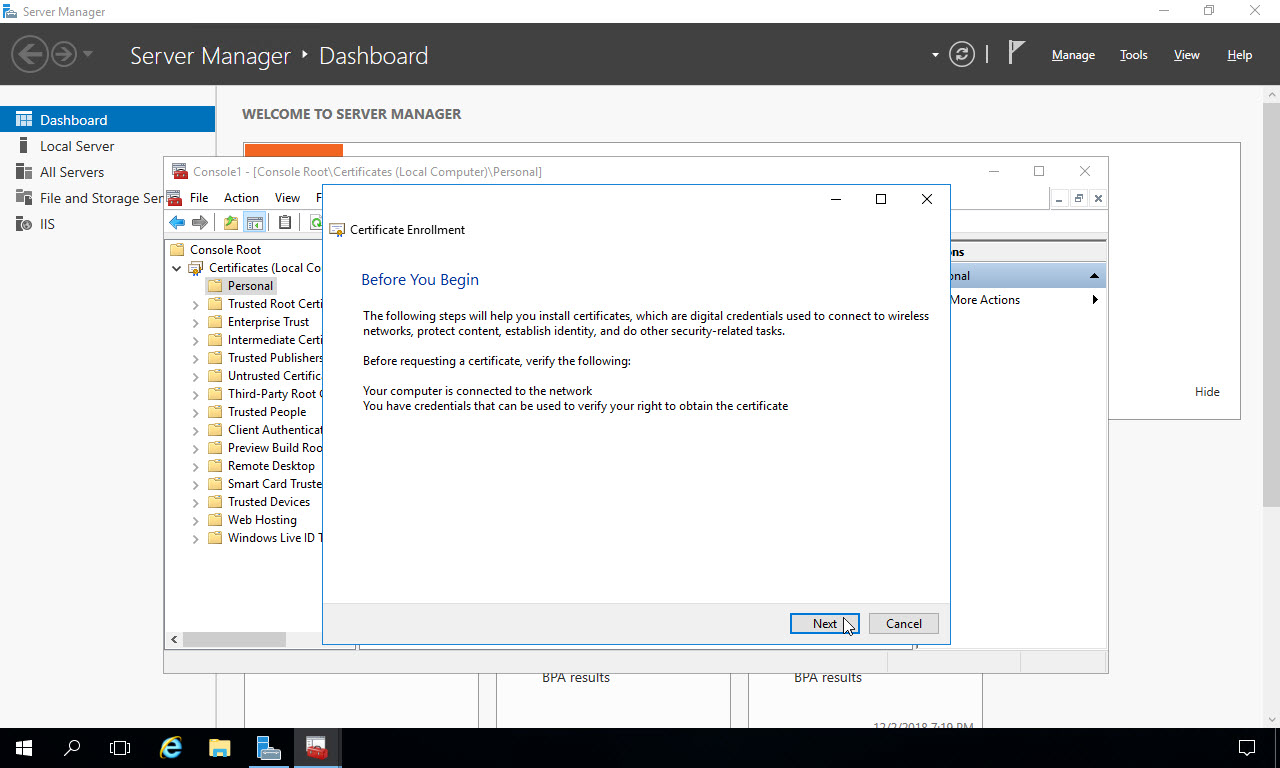
Now begin the process of generating an SSL certificate for the web server using your ADCS infrastructure. Click “Next” on the dialog that opens:
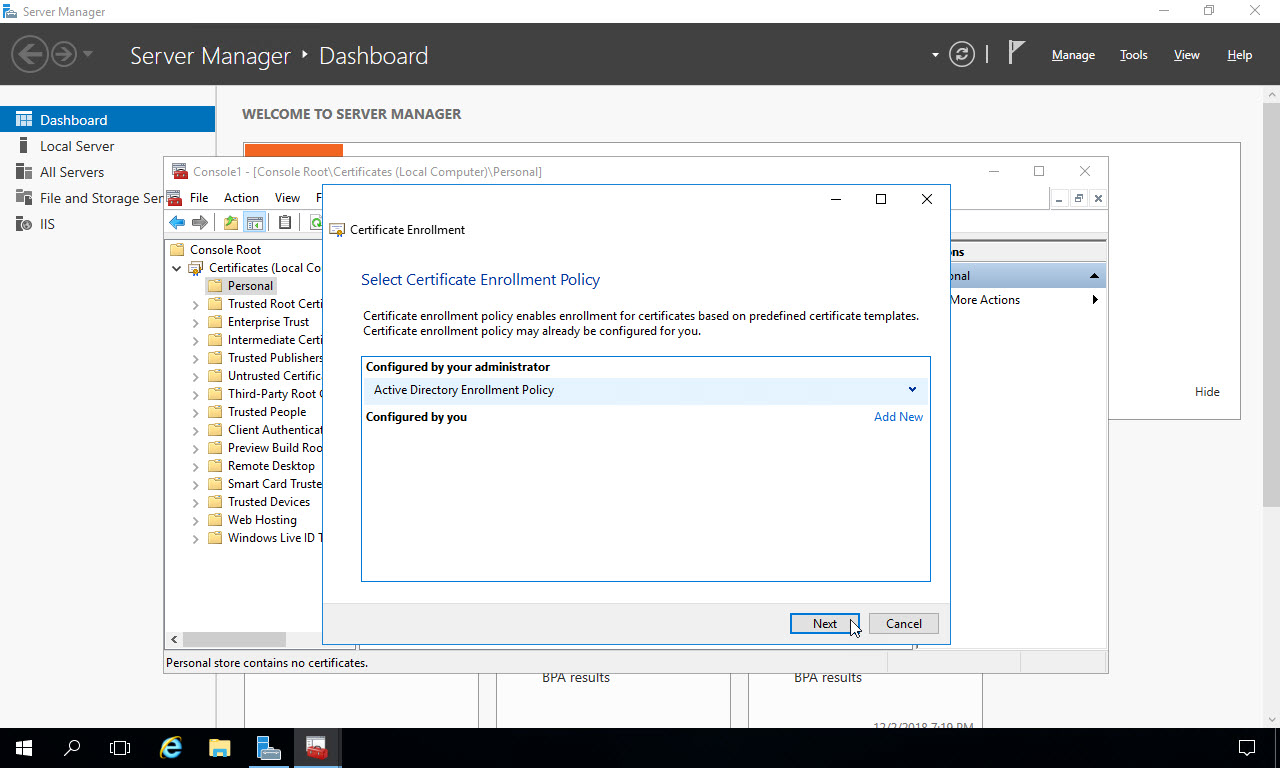
Ensure the “Active Directory Enrollment Policy” is selected, and click “Next”:
Select the Certificate template you’ve configured in ADCS. Certificate templates need to be enabled for enrollment within ADCS in order to appear in this list. Choose the Web Server certificate check box, then click the link below it “More information is required…”:

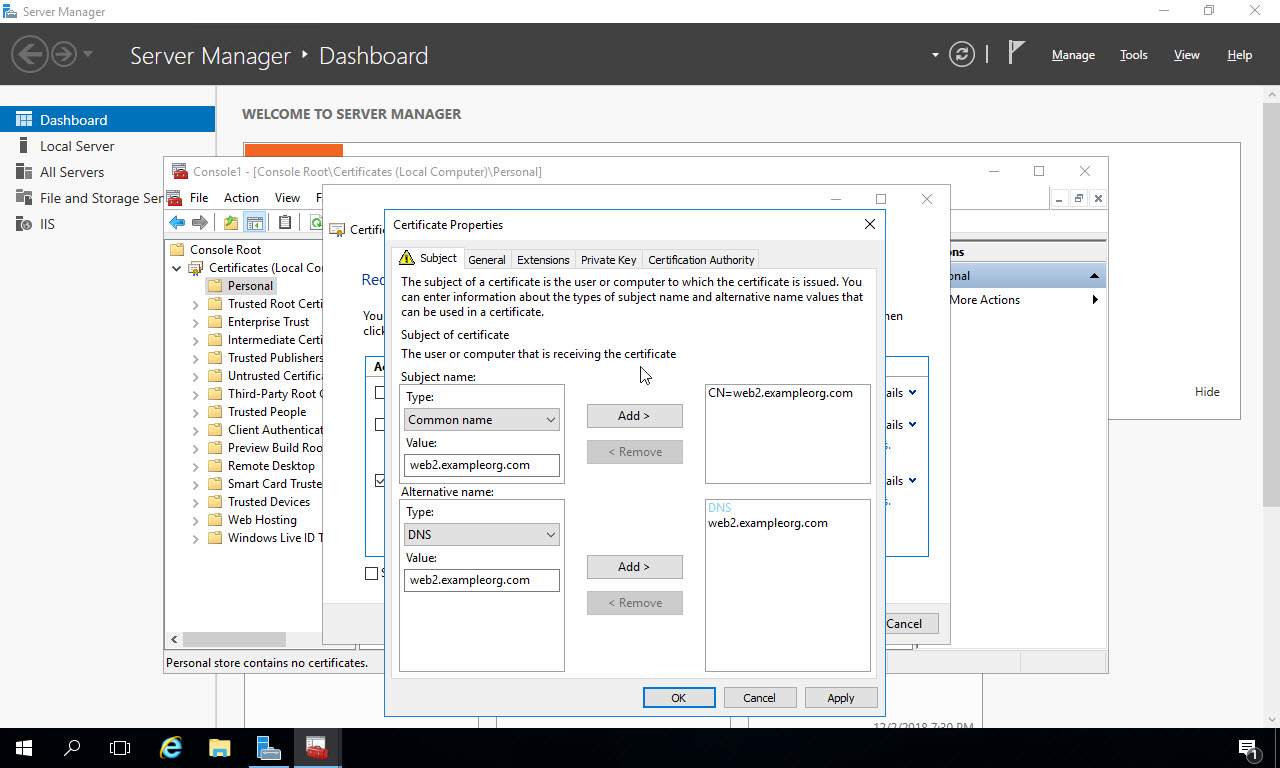
In the dialog that appears, you configure the domain name for the certificate. You could create this certificate for a specific domain name, like “myclaimsapp.com”, but then you’d have to configure DNS to point “myclaimsapp.com” to this web server, and any other web server where the application might be deployed to for load balancing. In this example, I’m creating a certificate for the entire web server, and I’ll use this for the app I’m deploying. So on the Subject tab select “Common Name” from the Subject Name Type dropdown list. Type “yourservername.yourdomainname” in the Value box. In my case, my web server that will host the deployed application is called “web2” and the domain is “exampleorg.com”. Once you’ve entered it, click the “Add” button in the middle to add it to the list on the right. In the Alternative Name section below, select “DNS” for the Type, and use the same fully qualified domain name for the server as the Value, and click the “Add” button to add it to the list on the right:
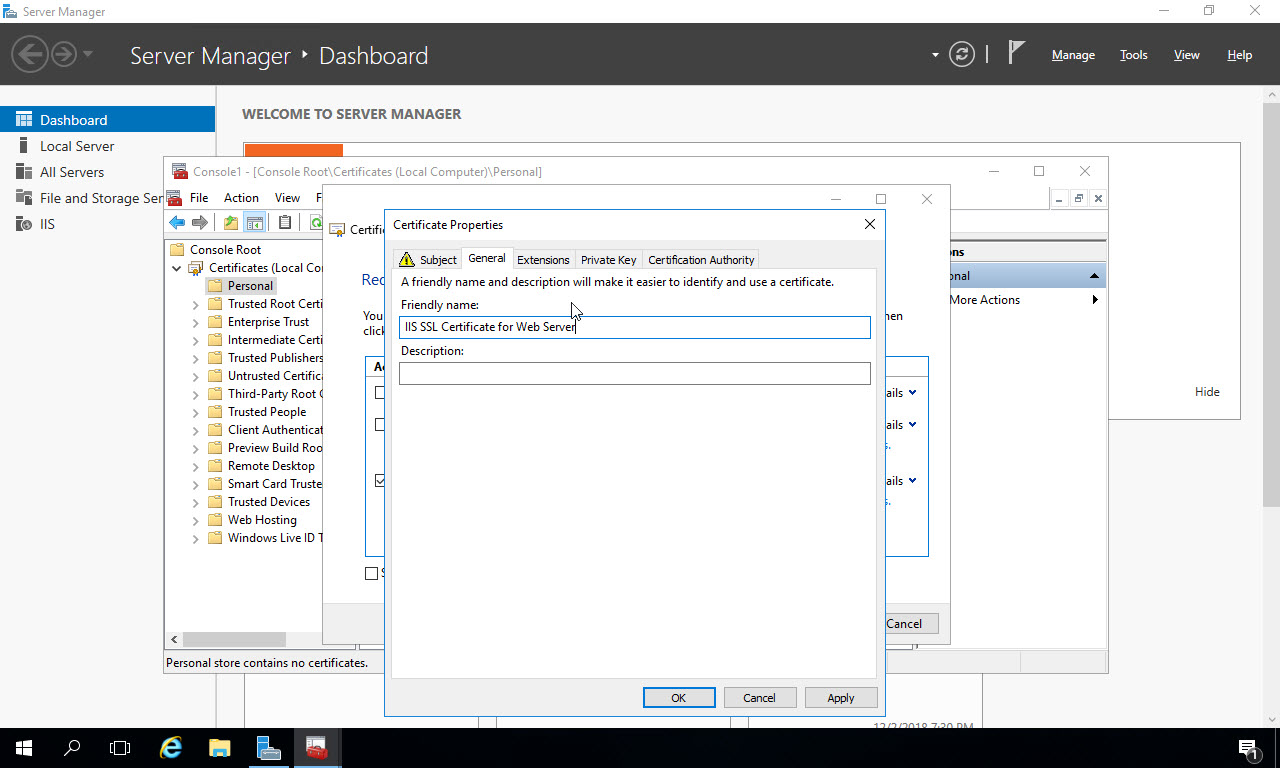
Click the “General” tab at the top, and give the certificate a friendly name. This name will show up later in IIS manager when you are selecting the certificate:
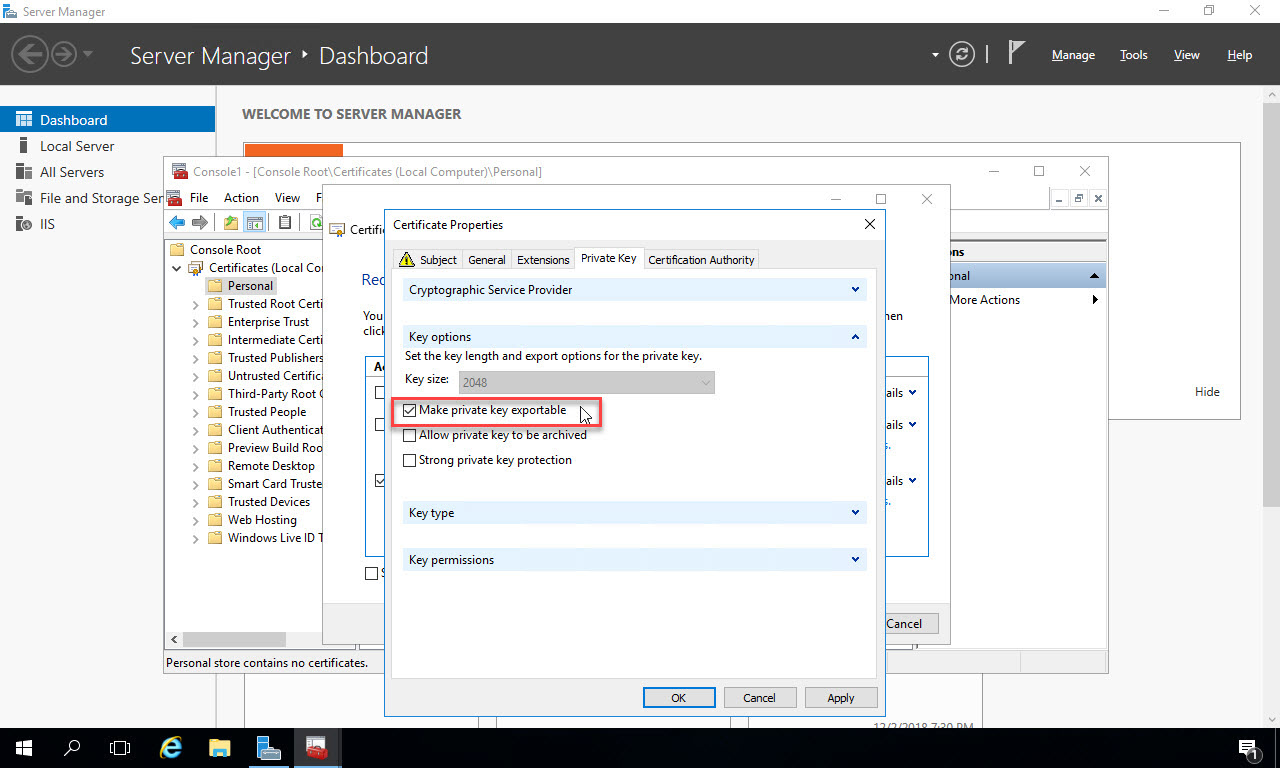
If you are generating this certificate on a server other than the server where you plan to use it, or you plan to export the certificate later to install on another web server (i.e. in a load balanced scenario), then on the “Private Key” tab, under Key Options click “Make private key exportable”:
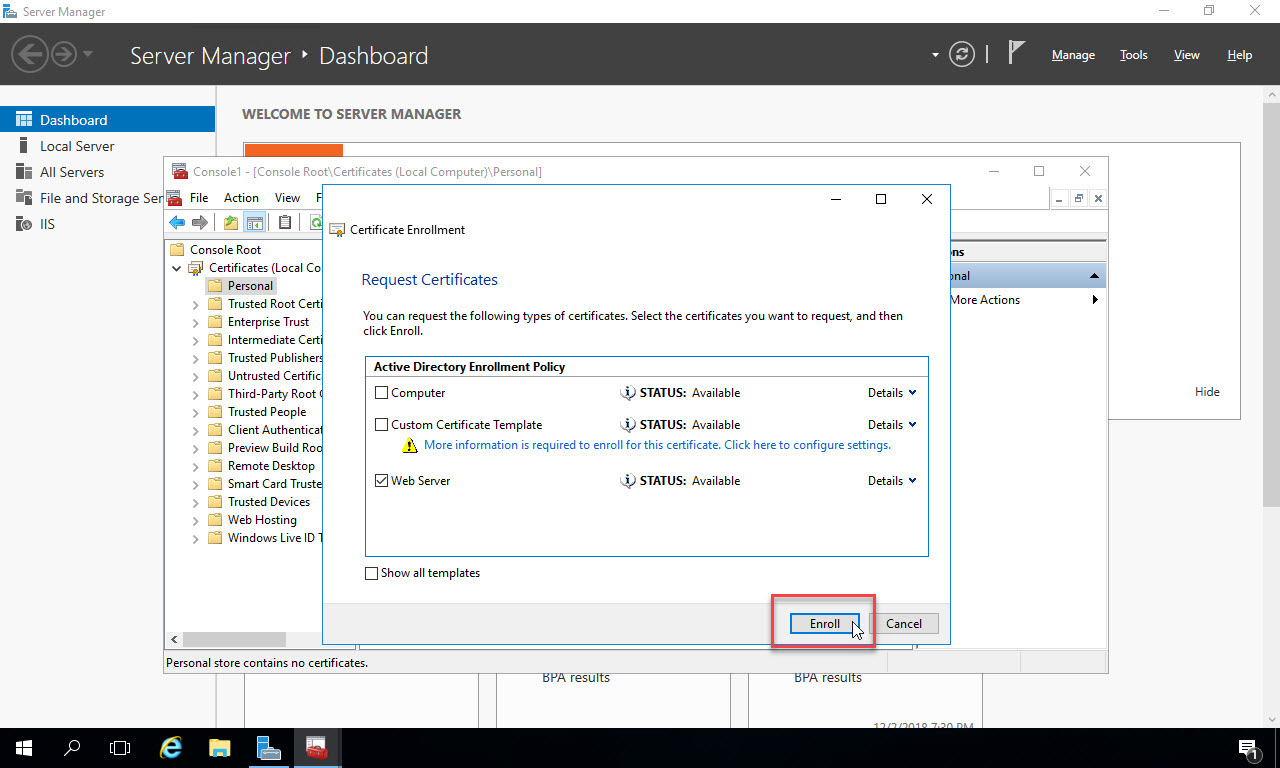
On the “Certification Authority” tab, you can see the CA selected that you’ve already configured in your lab environment or within your enterprise. Click “Ok” to finish configuring the certificate request:

Now, with the “Web Server” certificate template checked and configured, click “Enroll” to contact the Certificate Authority and request the certificate:
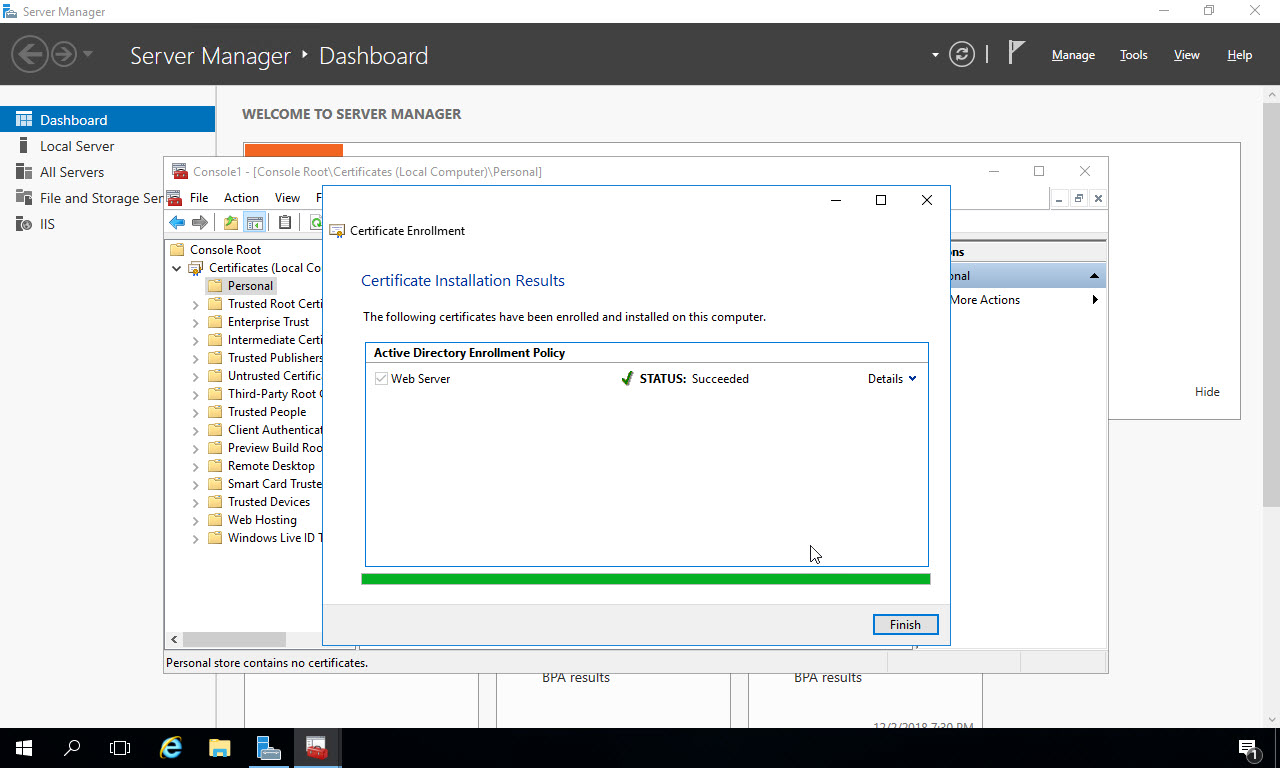
It will take several seconds for the certificate to get created. Once completed, you’ll see “STATUS:Succeeded”. Click “Finish” to close the Certificate Enrollment window:
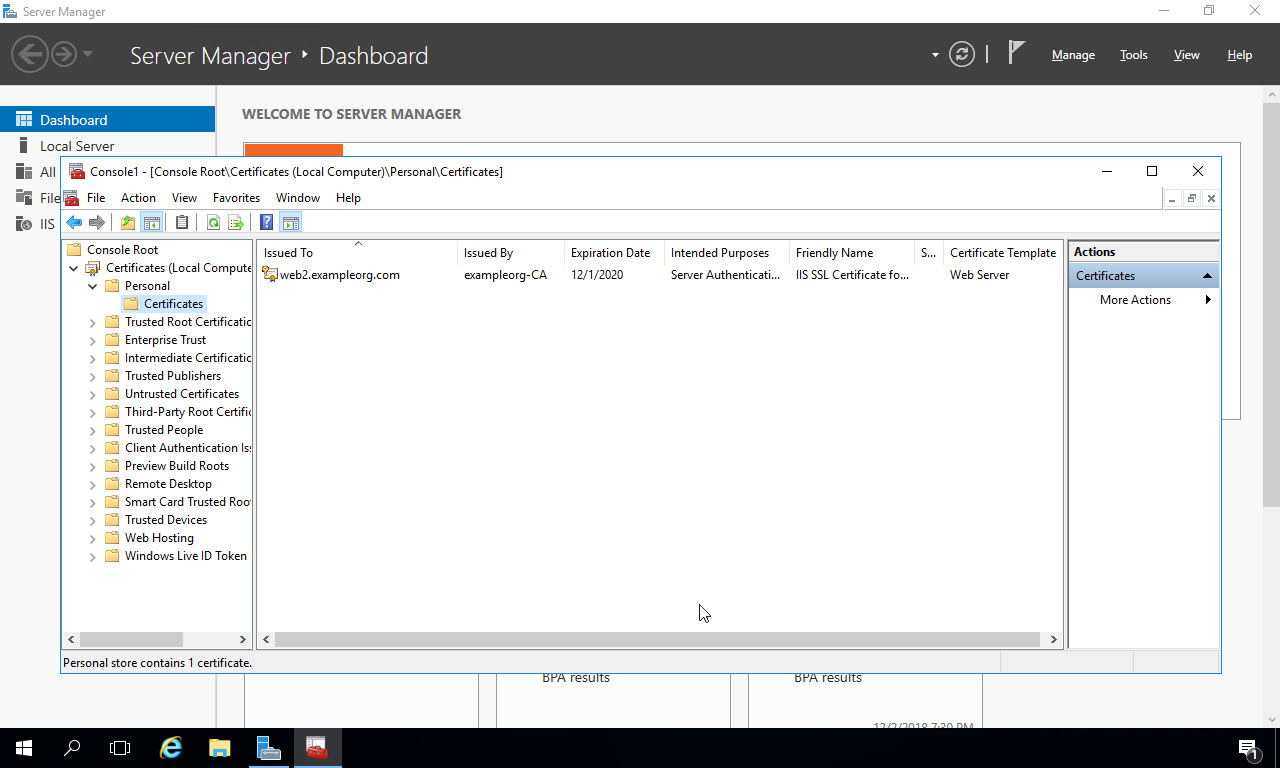
Now under the Personal store, in the Certificates subfolder you’ll see the certificate you just created. I generated this certificate with the name of the server, but this could be the name of your specific website if you choose – you would then have to configure DNS for that domain name to point to this server.
Create and configure web app in IIS Manager
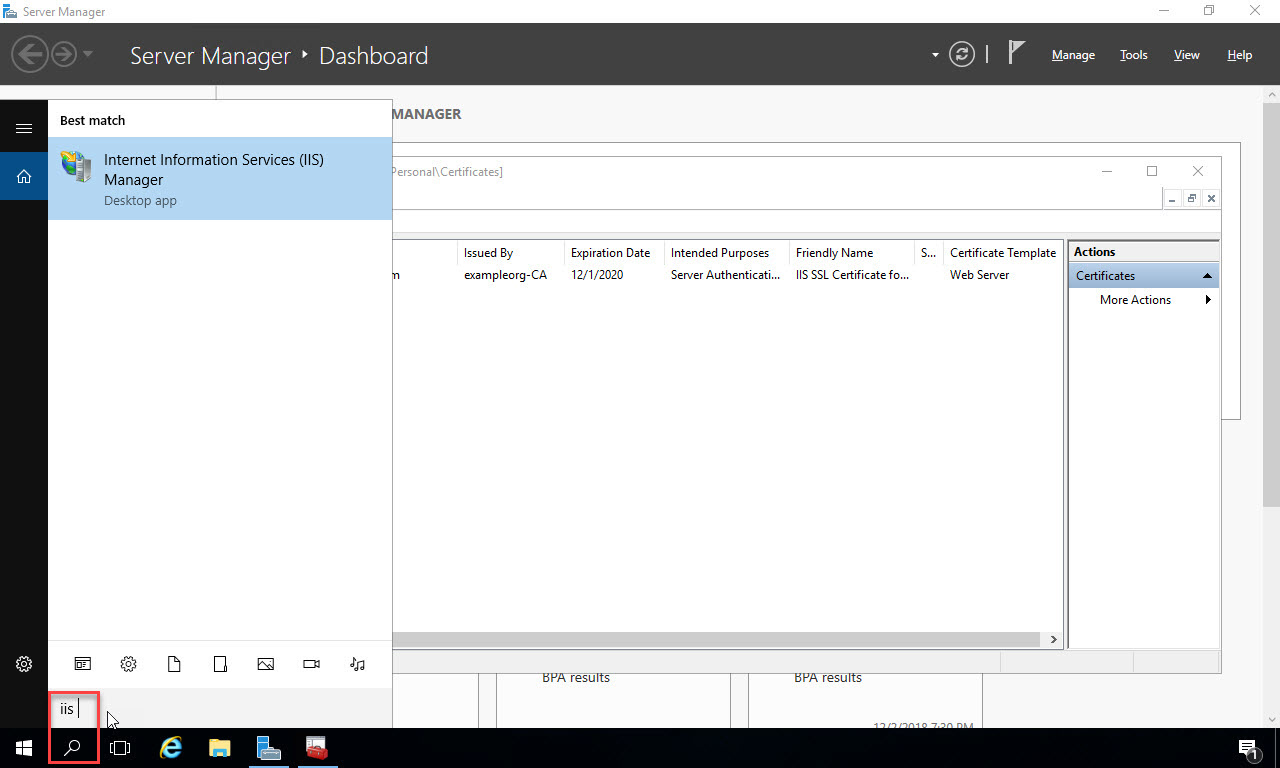
Now we’ll open up Internet Information Services Manager and configure the web application we’ll be deploying our code to. In the search box at the bottom, type “IIS” and select the IIS manager app in the search results:
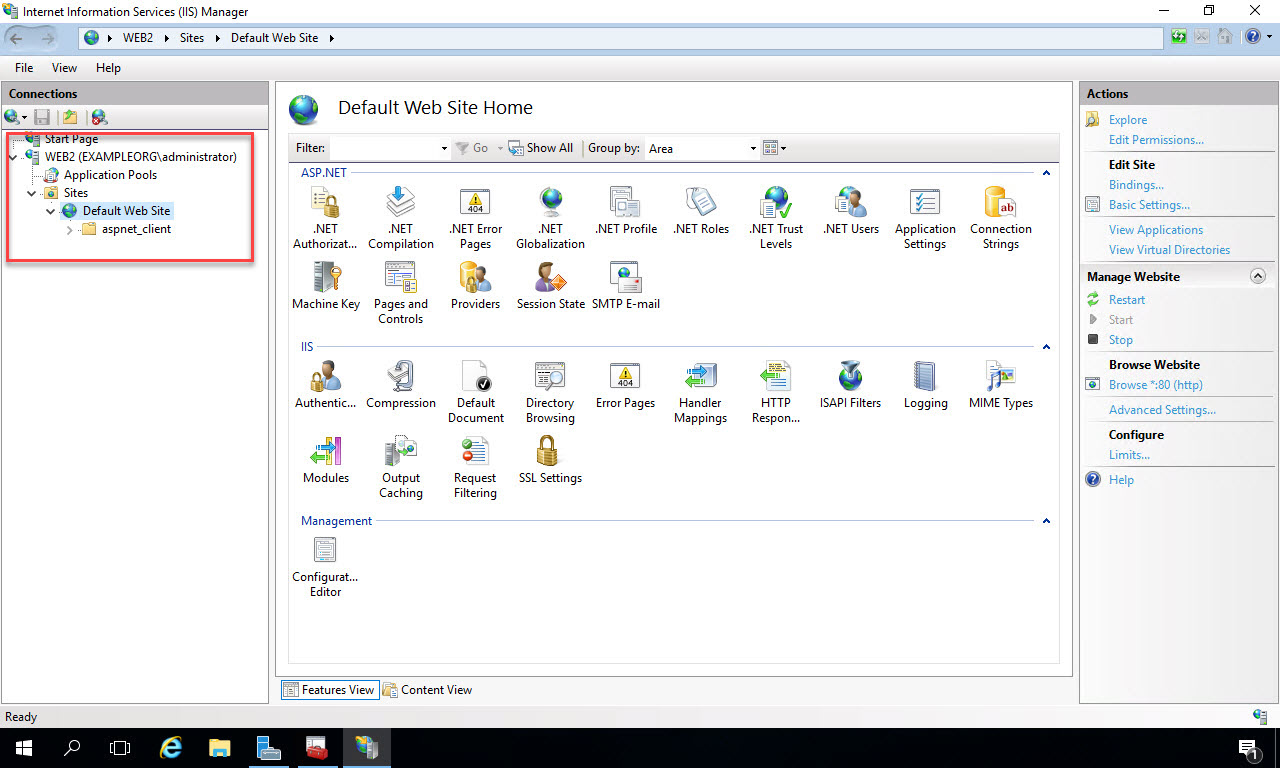
When IIS Manager opens, expand the web server node and the Sites node. Click on “Default Web Site”, and in the “Actions” menu on the right side, click “Bindings…” under Edit Site:
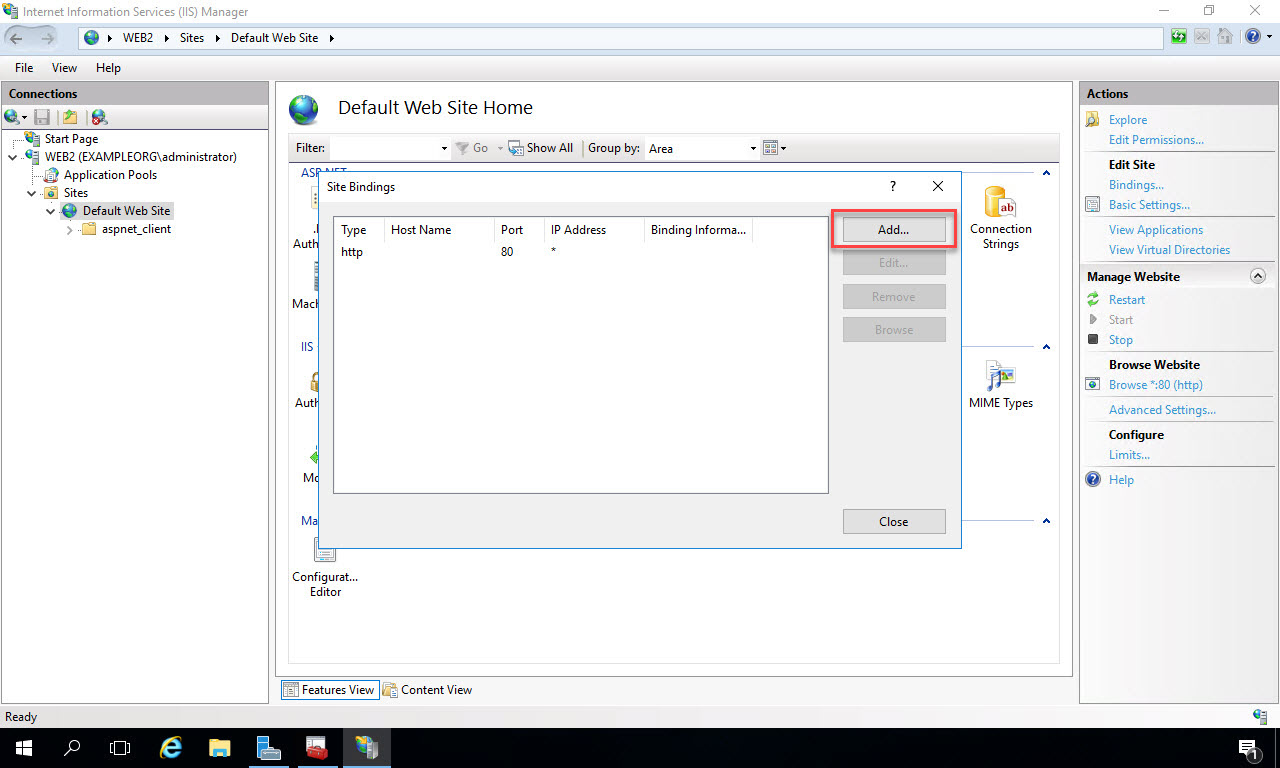
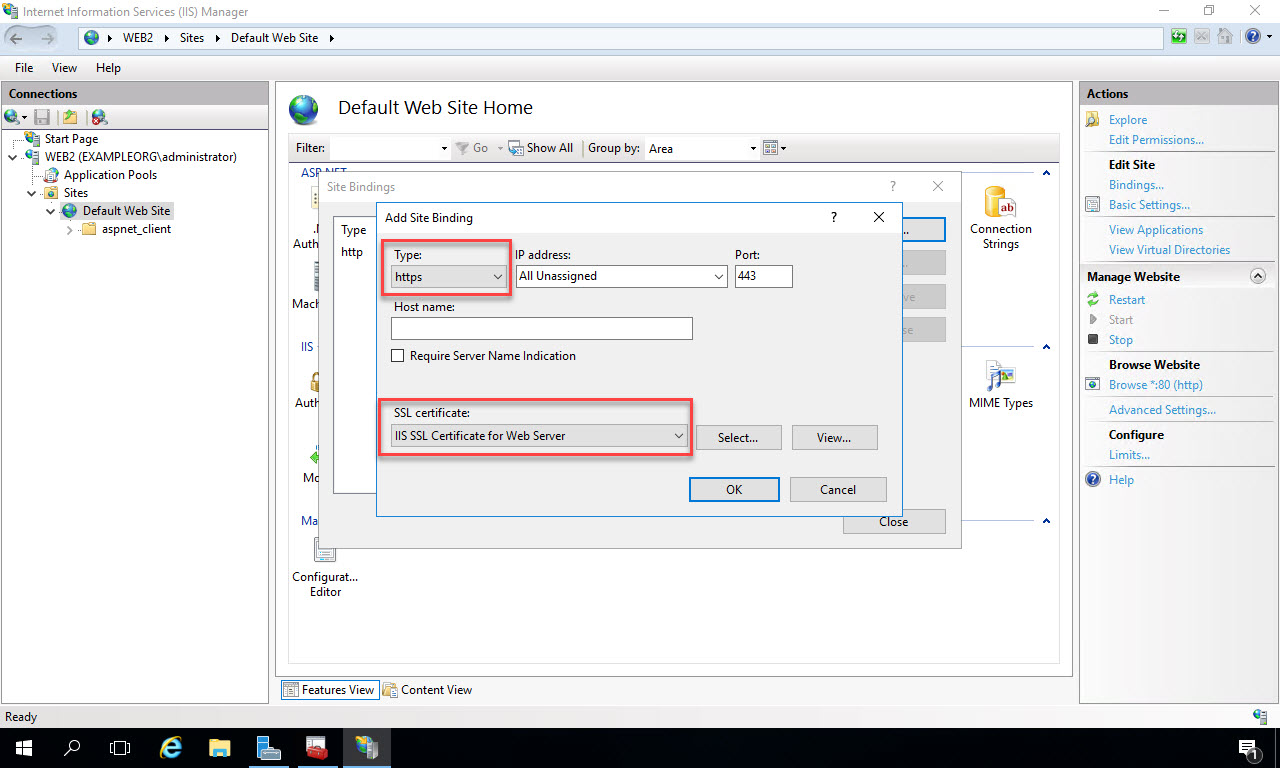
In the Site Bindings dialog that opens, click the “Add” button on the right:
In the Add Site Binding pop-up, select “https” as the Type, and in the SSL Certificate drop down list, select the friendly name of the certificate you configured earlier. In my case it’s called “IIS SSL Certificate for Web Server”. Click “Ok” to complete the configuration:
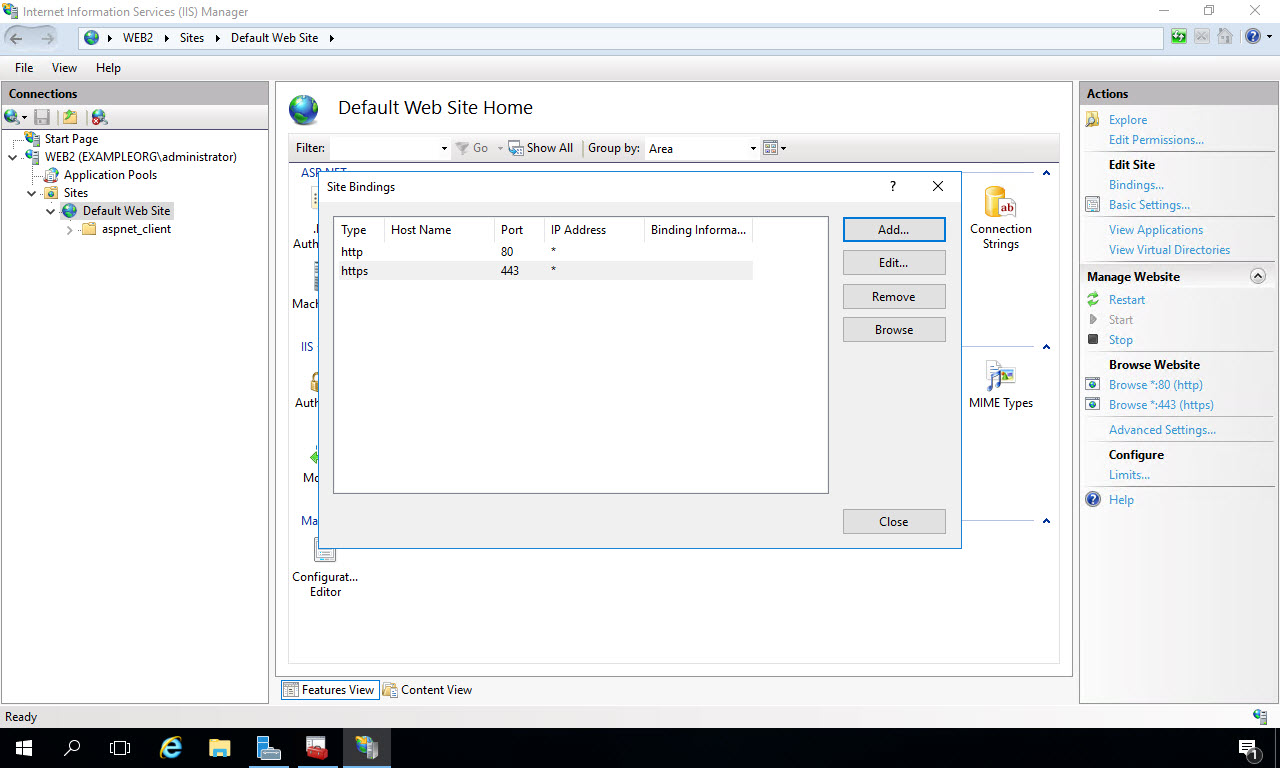
Now you’ll see both http and https enabled for the entire Default Web Site. We’ll be installing the web application under this Default Web Site. Click “Close”:
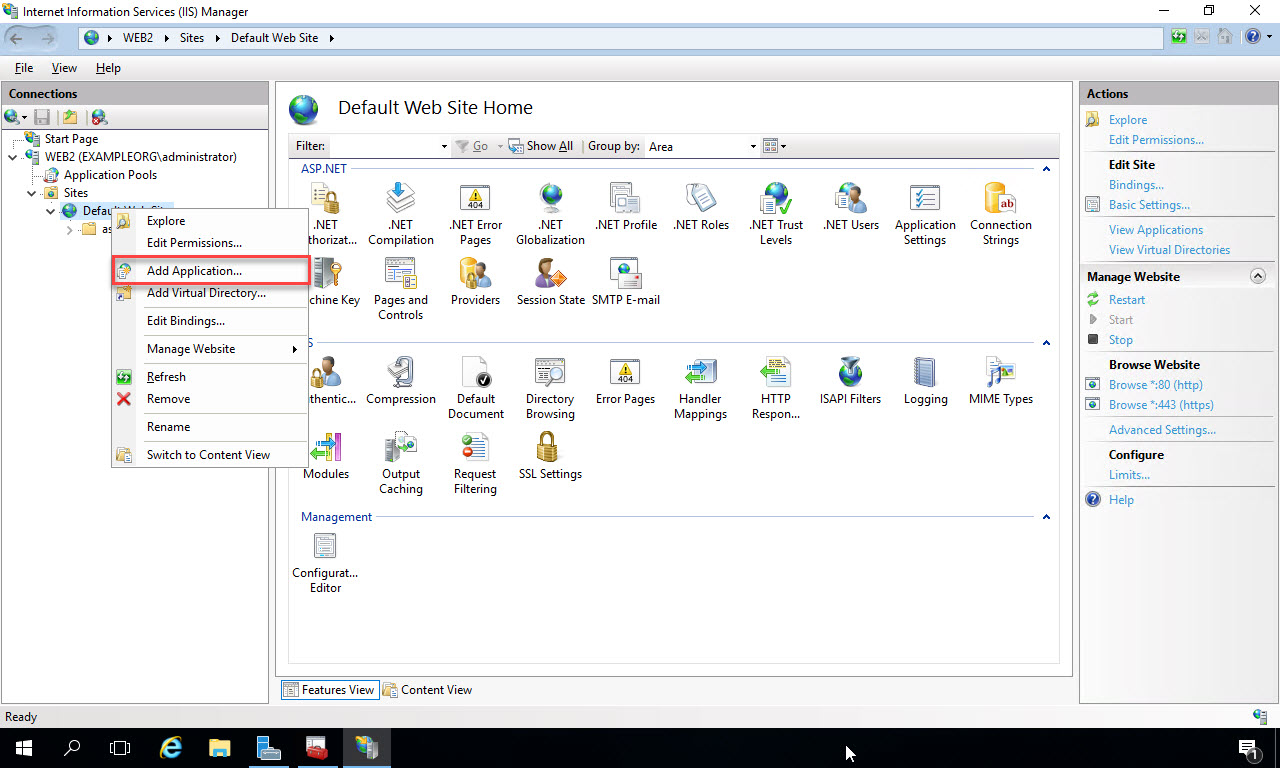
In the Connections window on the left of IIS Manager, right click on the Default Web Site, and select “Add Application”:
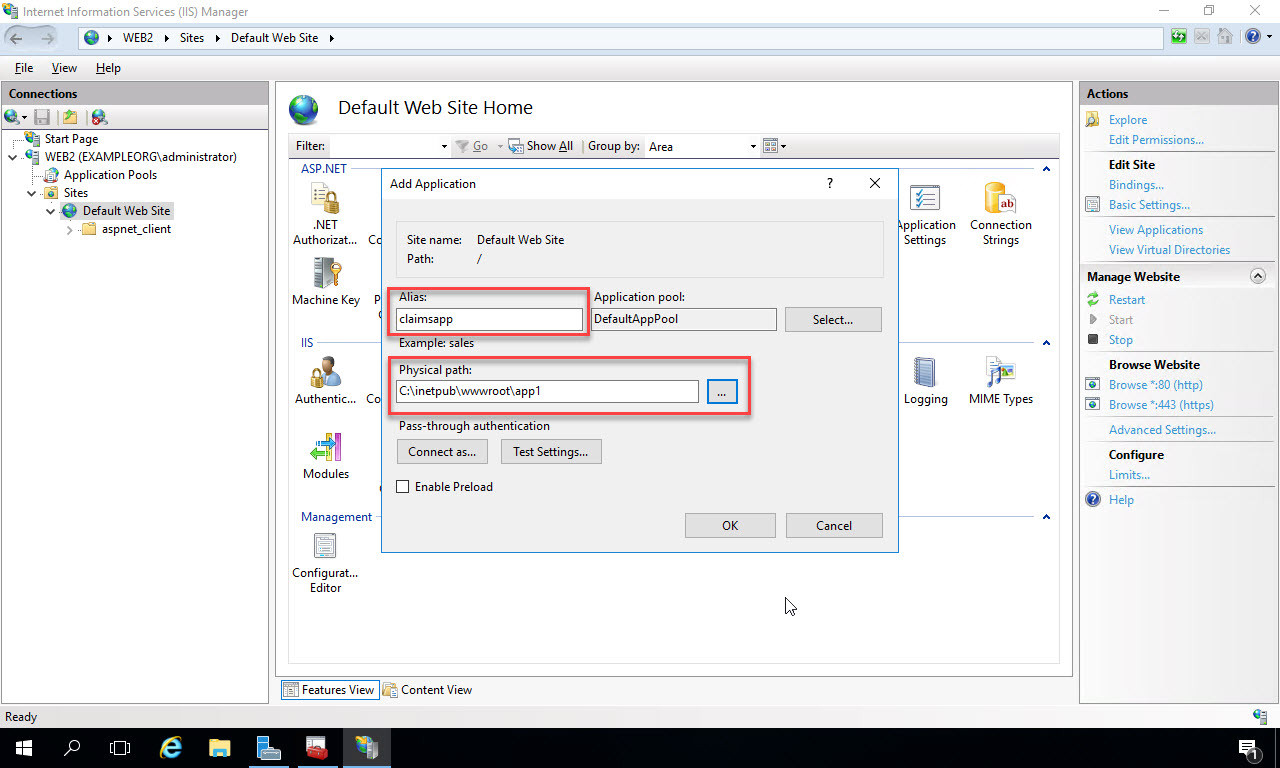
In the Add Application window, type in the name of the application in the Alias textbox. This will be the name that comes after the server name in the URL to the site. So in this example, the URL to the site will be https://web2.exampleorg.com/claimsapp. In the Physical Path text box, navigate to the folder on the file system where the code will be deployed to. In this example I’ve purposely created a folder with a different name to show how the Alias takes precedence in the URL. I’ve placed the folder under the wwwroot so there won’t be any permissions issues with the application pool identity accessing it. If you choose to create a virtual directory to another location on your network to run the code from, then you may have some additional configuration steps. Click “Ok” to add the application:
Create a simple test page to verify settings
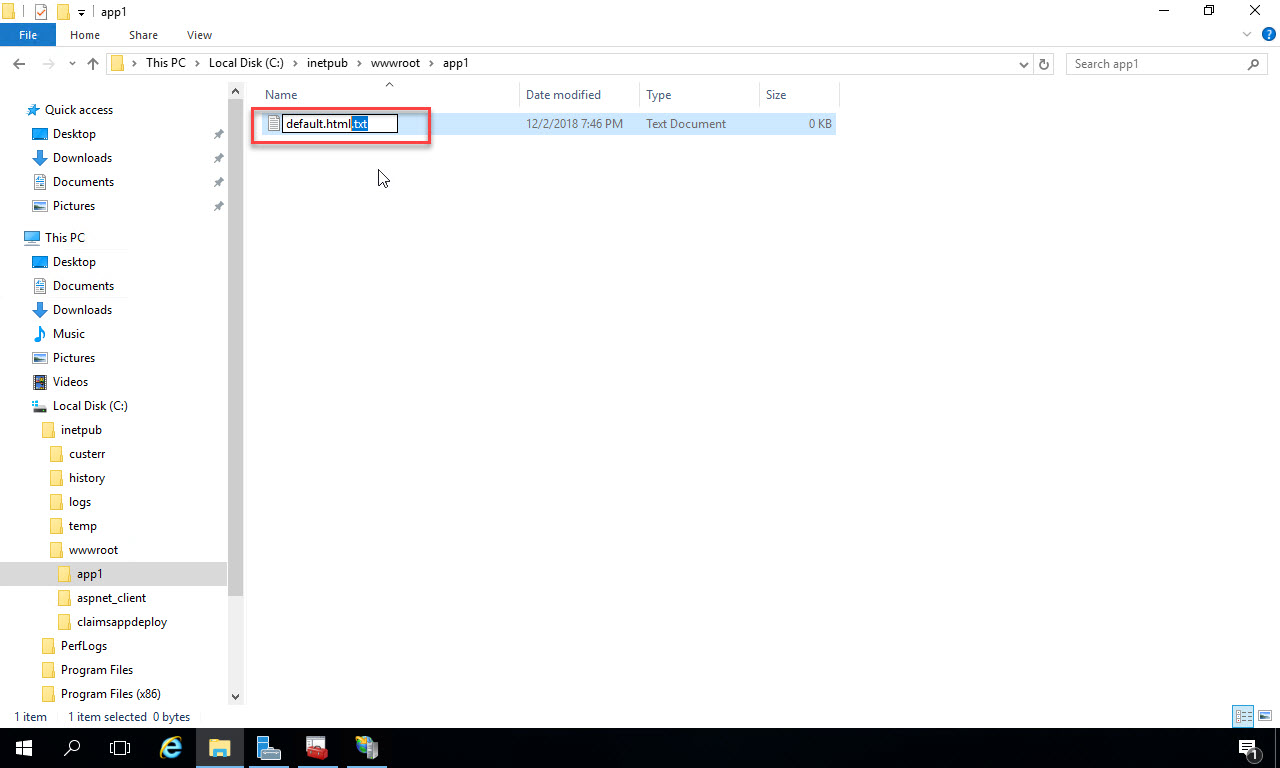
Now open up File Explorer on the web server VM. Navigate to the folder you just pointed the web application to. Right click in the folder and select “New -> Text Document”:

Name the document “default.html”. Remove the “.txt” file extension. If you can’t see the file extension, go to the View menu at the top of File Explorer and check to show file extensions.
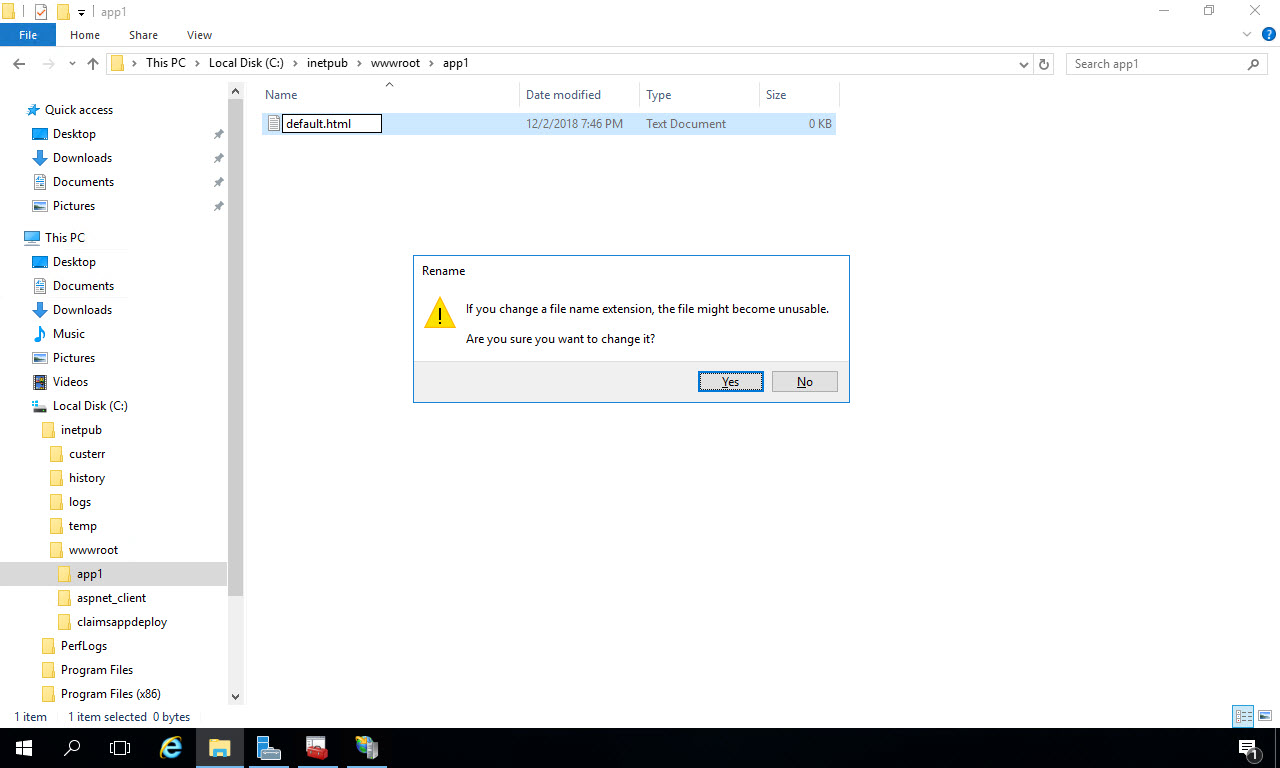
You’ll get a warning about changing the filename, just click “Yes” to accept:
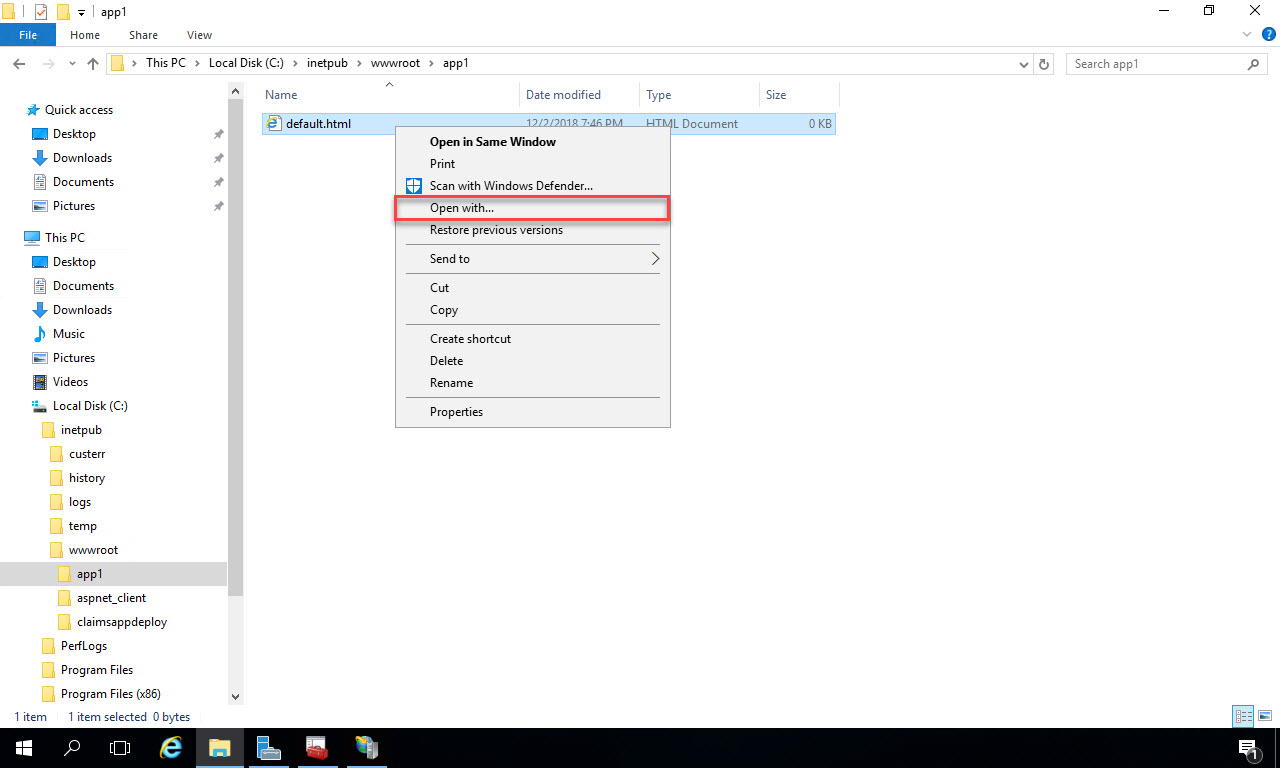
Now right click on the new file and select “Open with…”:
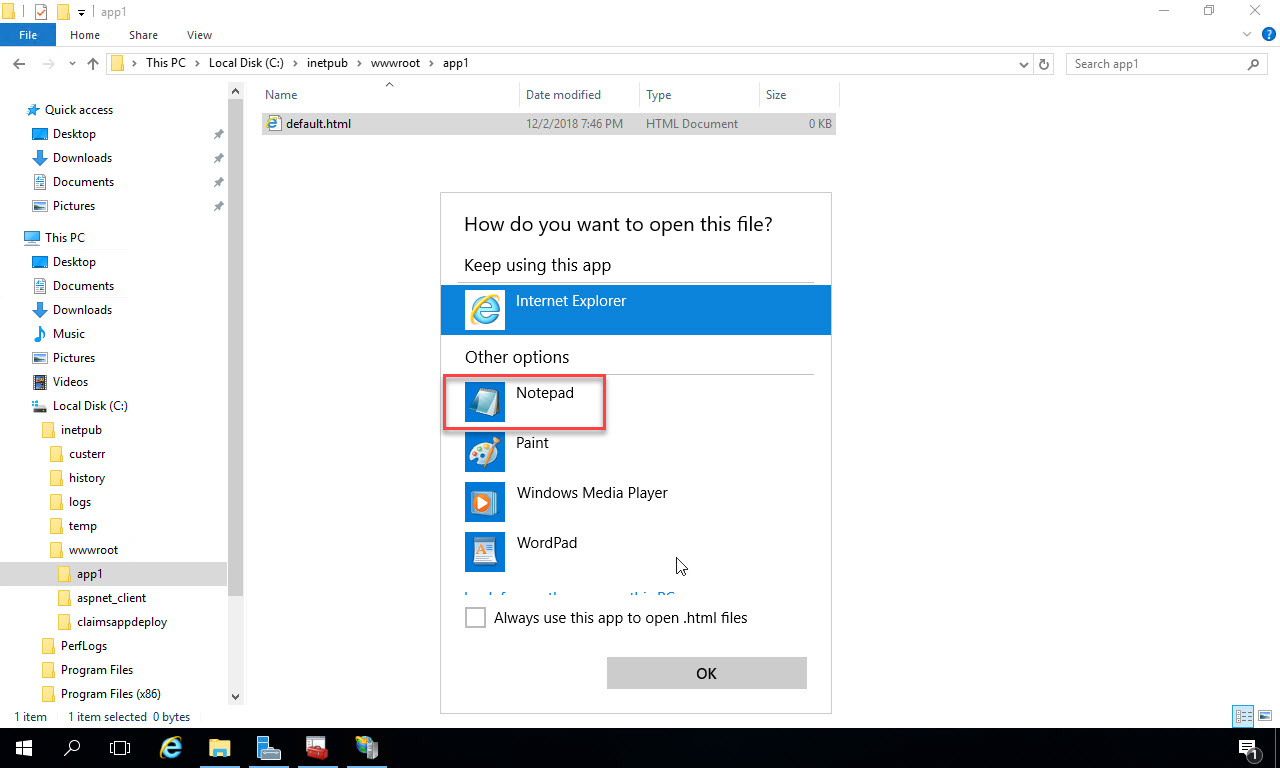
From the options available, select Notepad or whichever text editor you prefer:
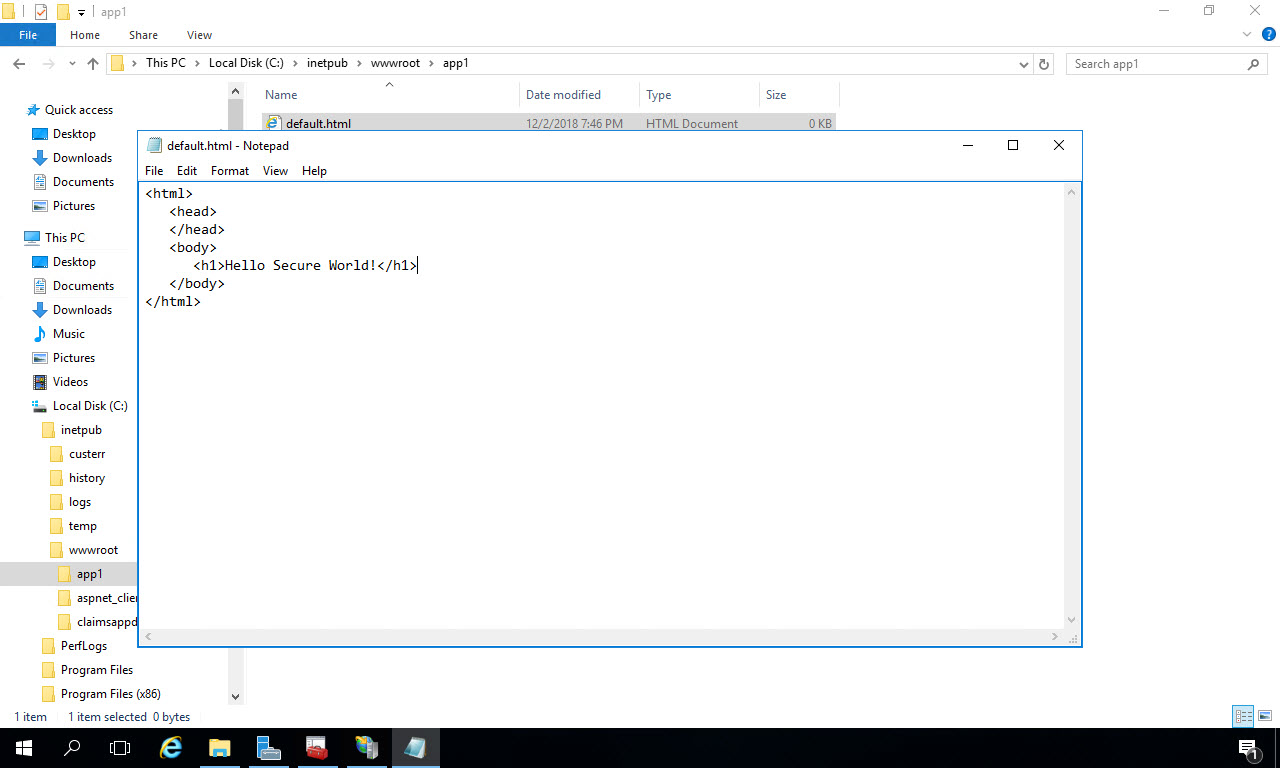
Now enter the following for the contents of the text file:
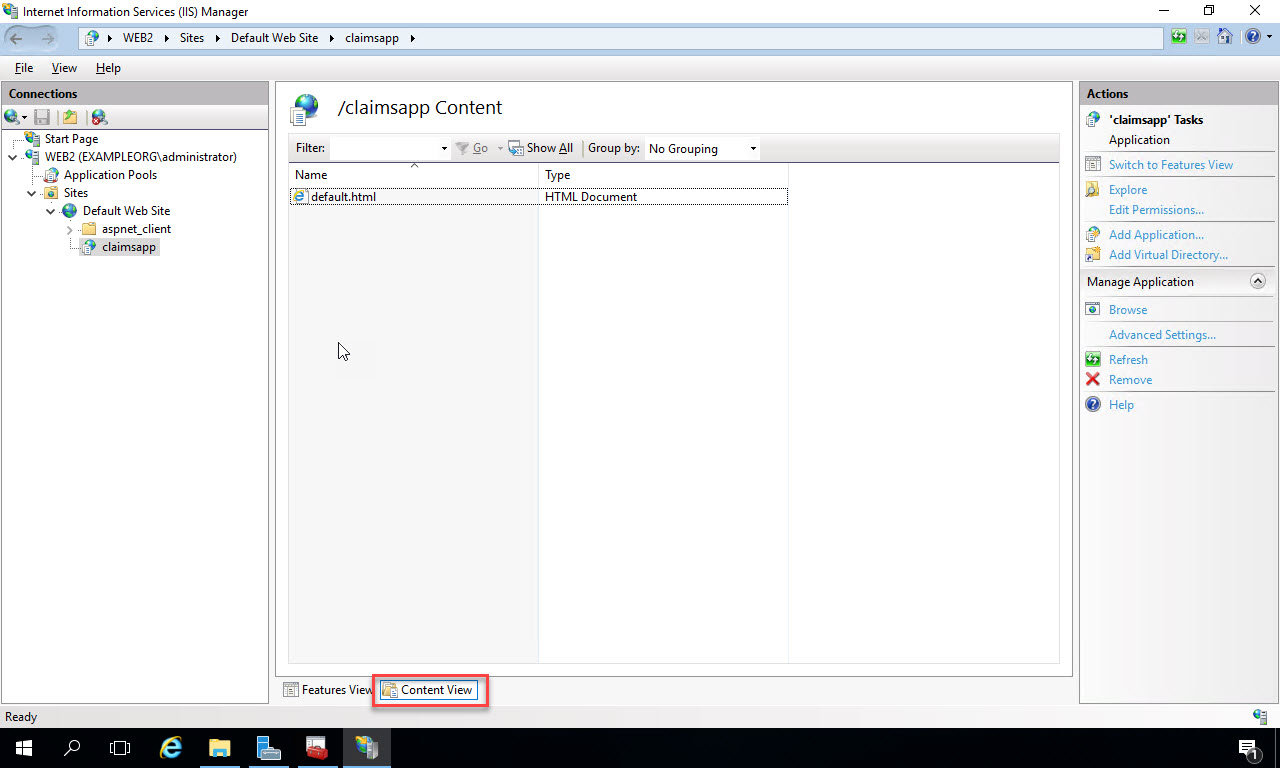
Save and close the text file. Back in IIS manager, with the claimsapp selected, click “Content View” at the bottom of the middle window. You’ll see the file you created in File Explorer showing:
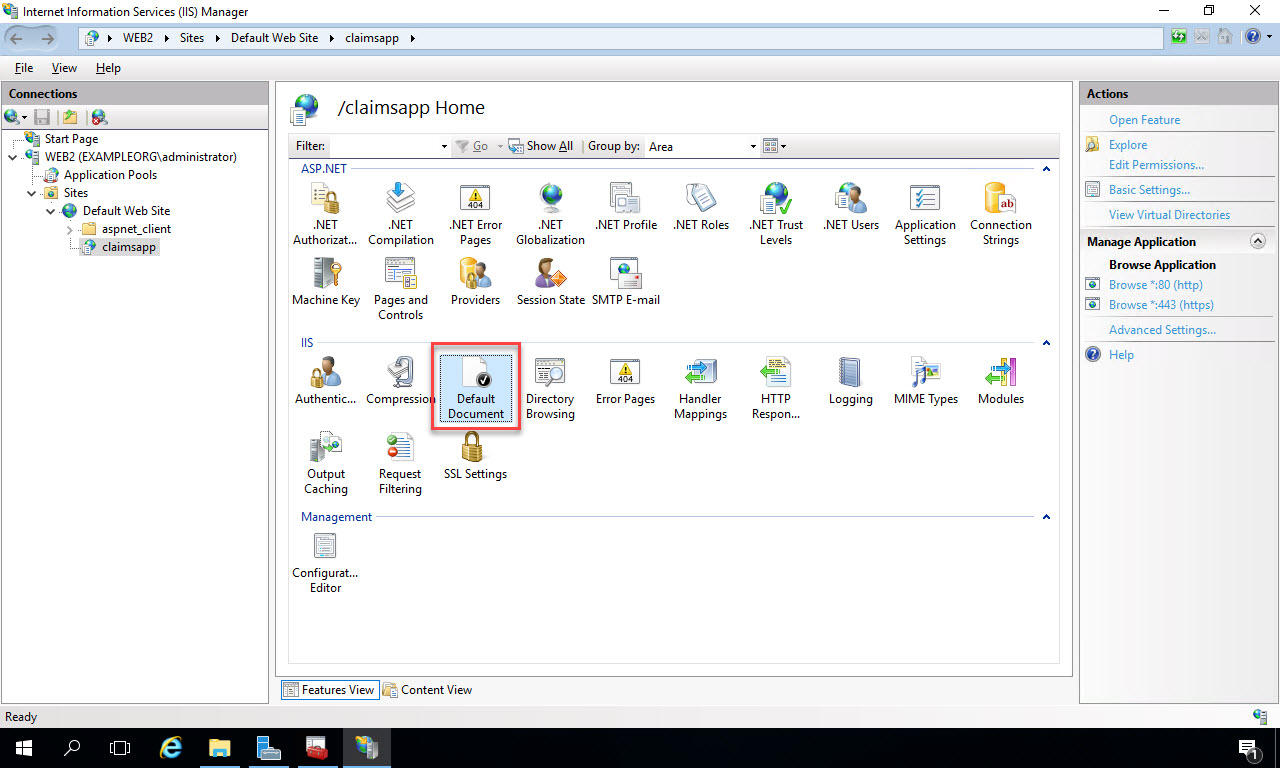
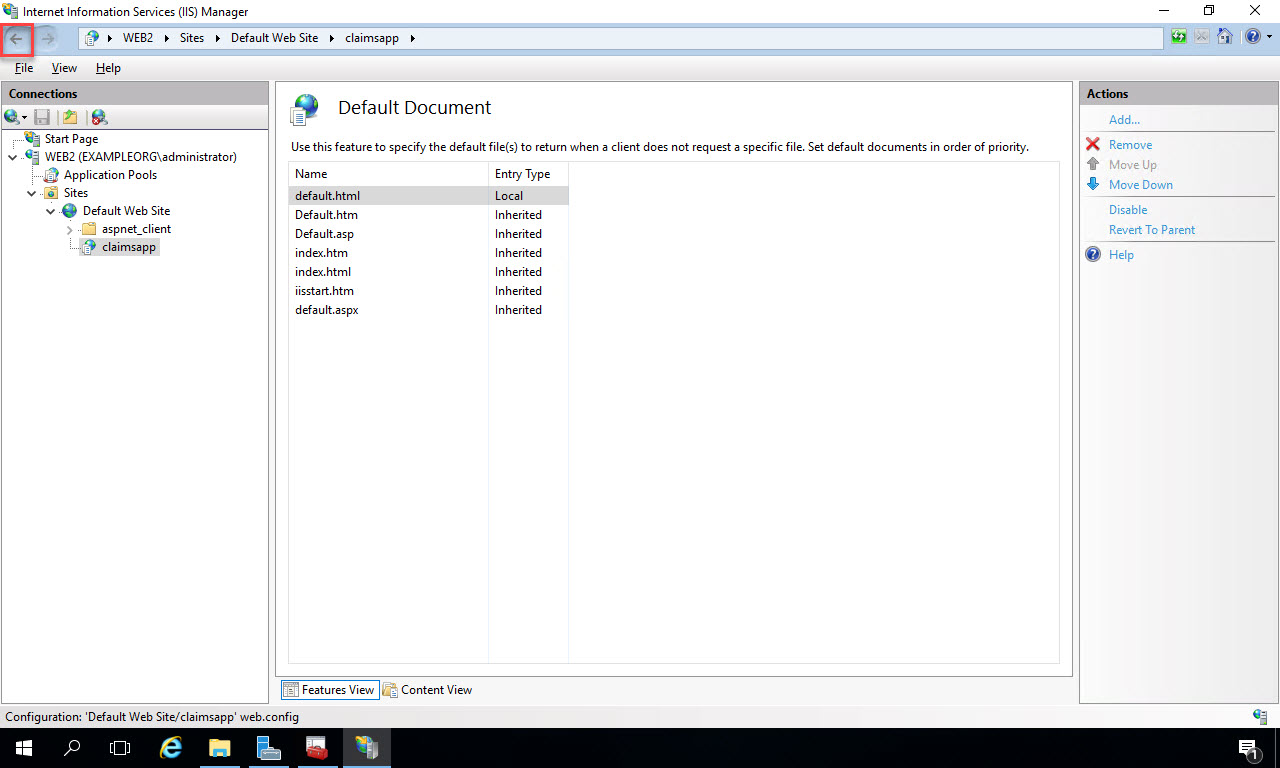
Now click the Back arrow at the top left of IIS Manager to return to the main menu. Double-click “Default Document” in the IIS section:
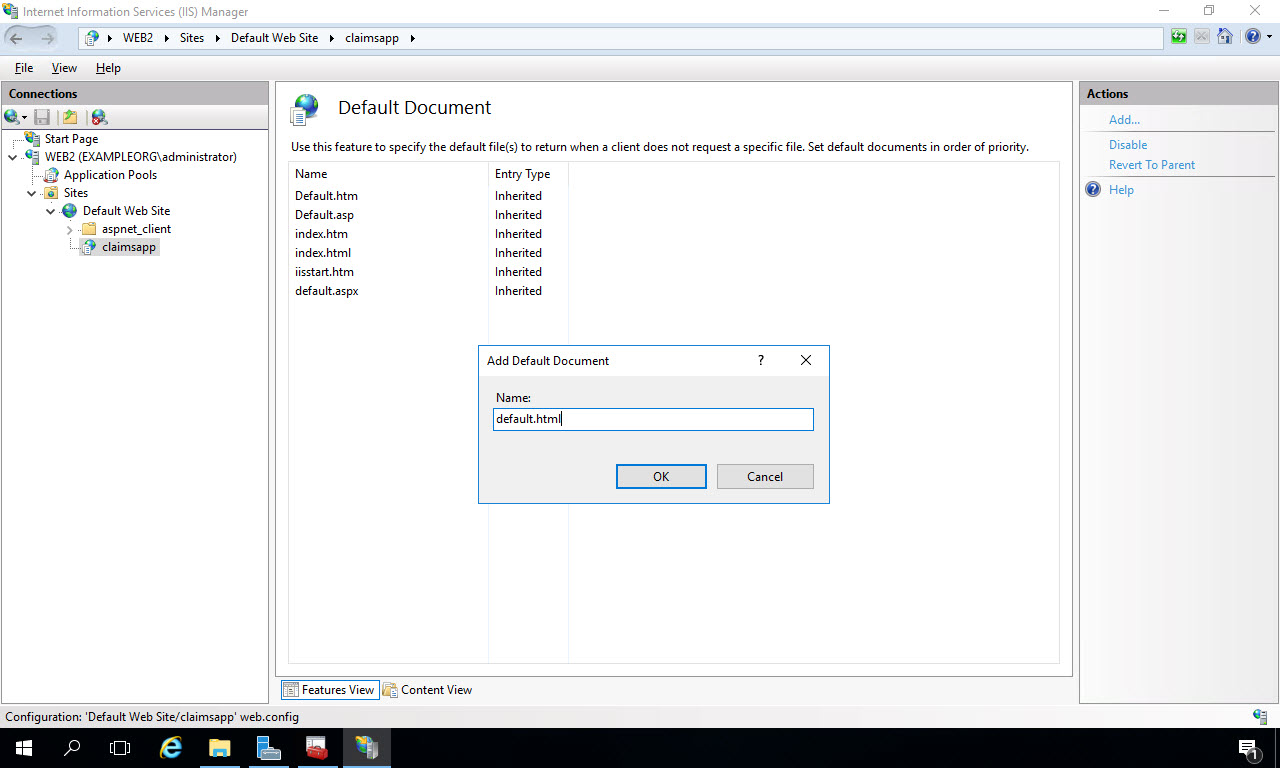
In the Default Document window, click “Add” under the Actions menu on the right. Add “default.html” as the name, and click “OK”:
The new file name and extension will be added to the list. Click the Back button at the top left to return to the main menu:
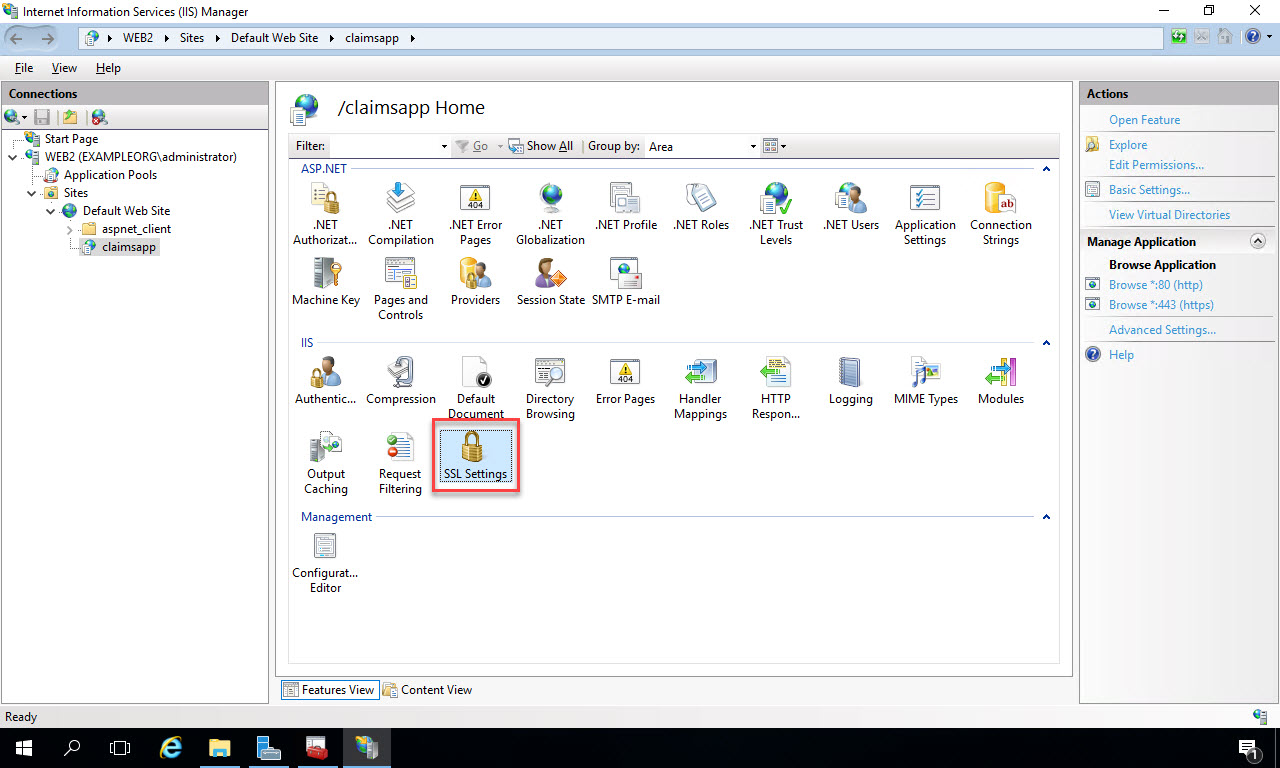
Next, let’s configure the web app to require SSL in order to enforce https. Double-click the “SSL Settings” menu item:
Click the “Require SSL” checkbox, and then click “Apply” under Actions on the right:
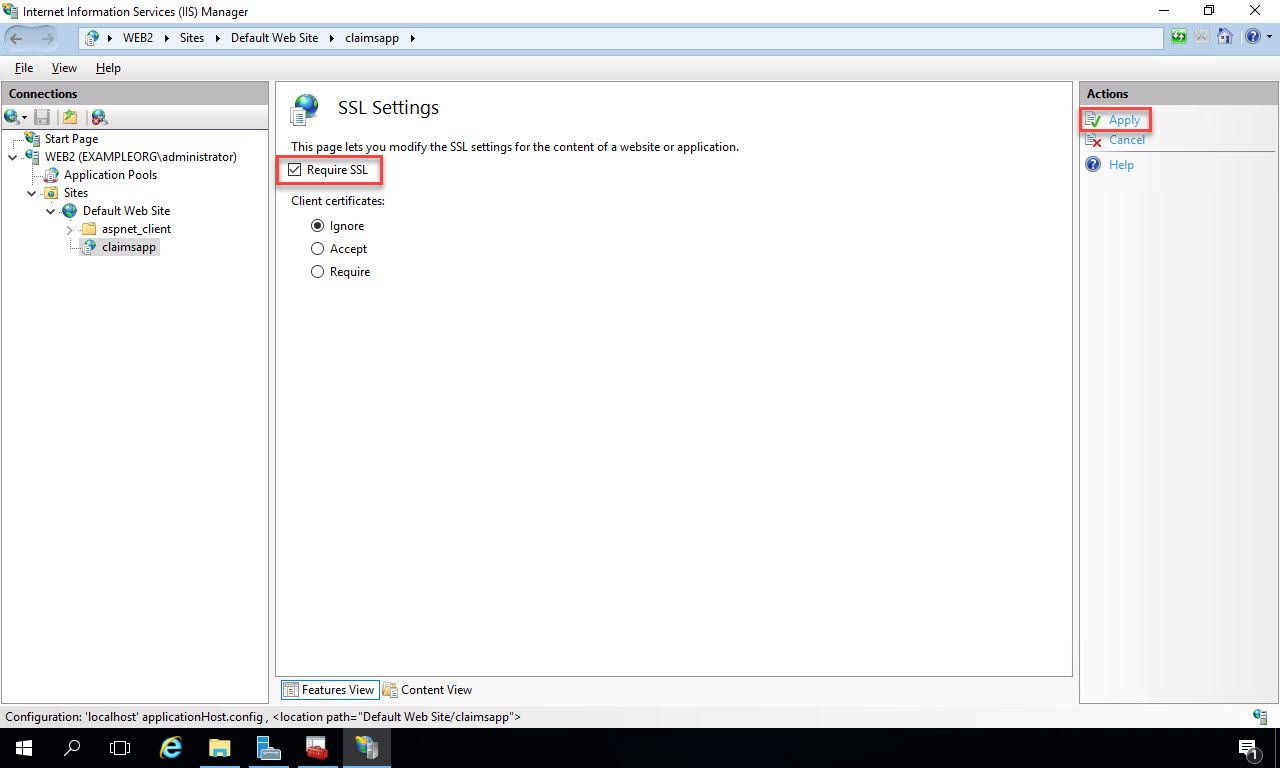
You’ll see that the changes were successfully saved. Now click the Back button at the top left corner and return to the main menu:

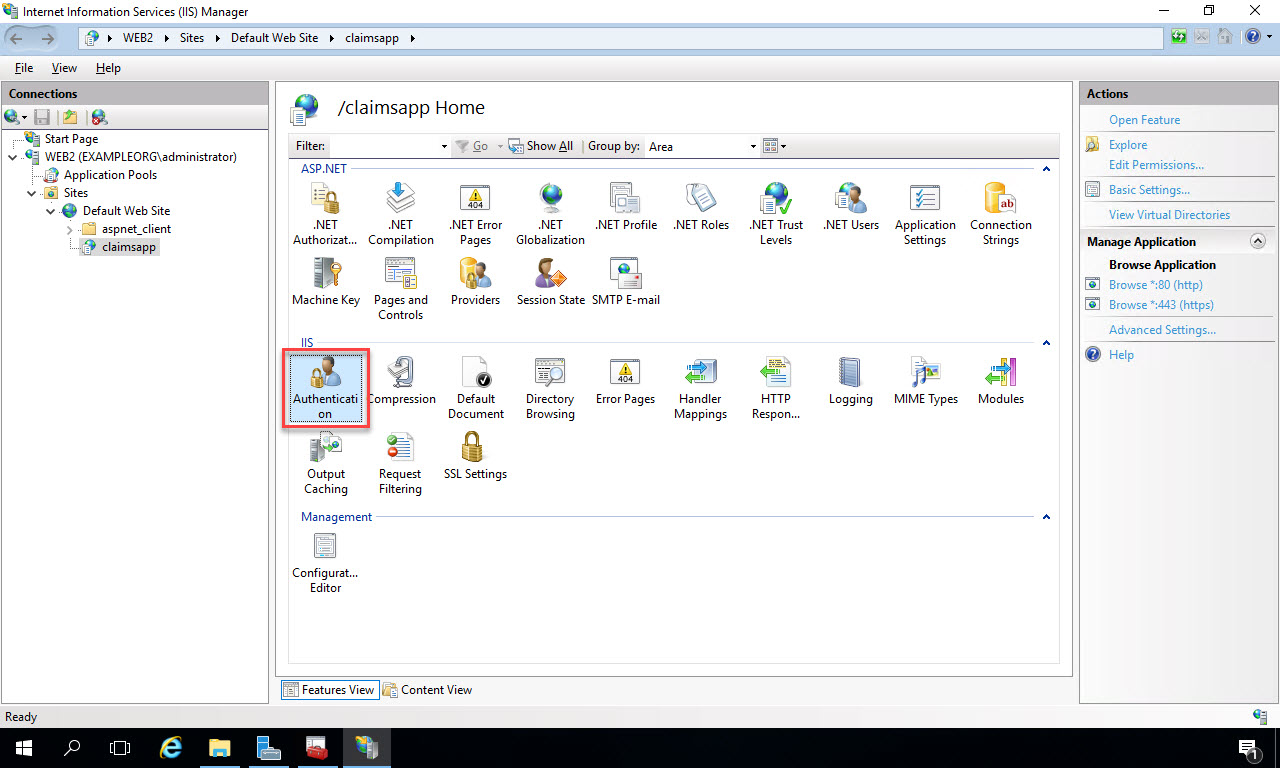
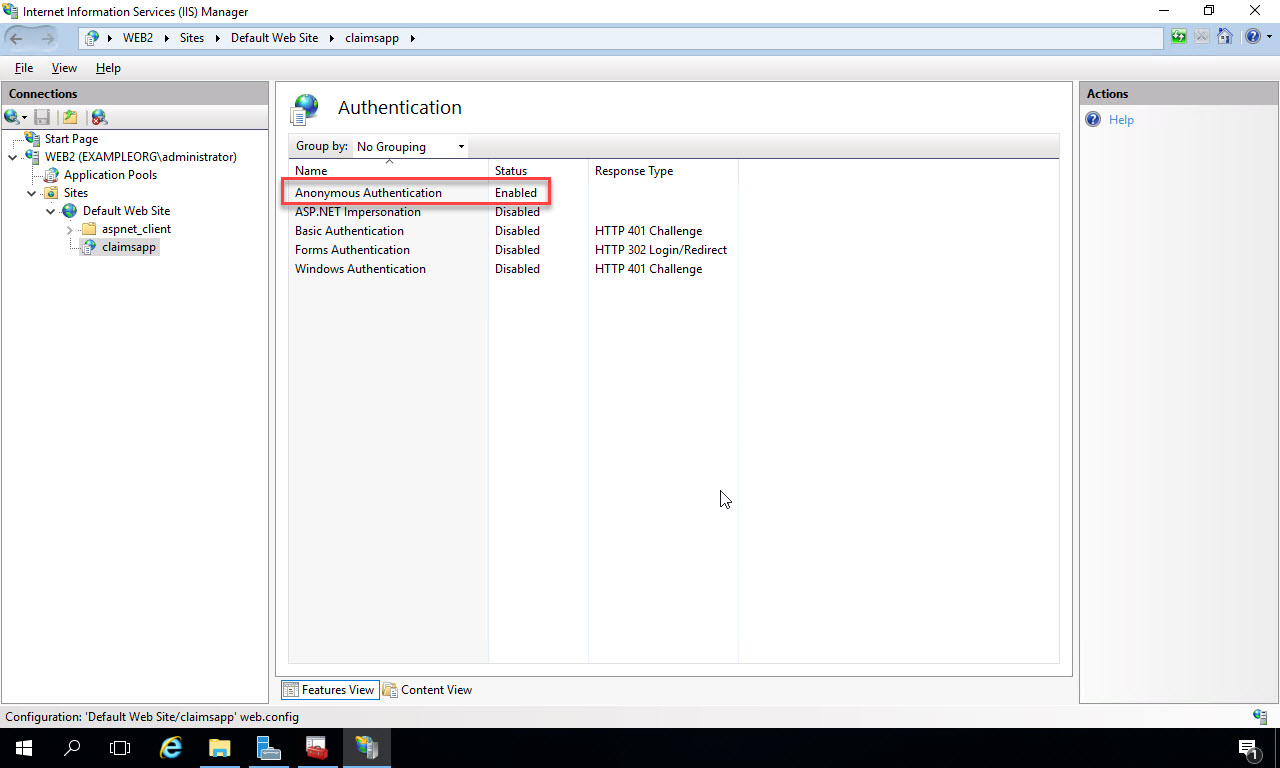
Next, let’s make sure anonymous authentication is configured, since we’ll be testing a page that requires no login, and we’ll be configuring the deployed app to use ADFS claims for authentication soon. This is IIS authentication, so we want to ensure any user can reach the site. Double-click “Authentication”:
Ensure Anonymous Authentication is enabled and the other options are disabled:
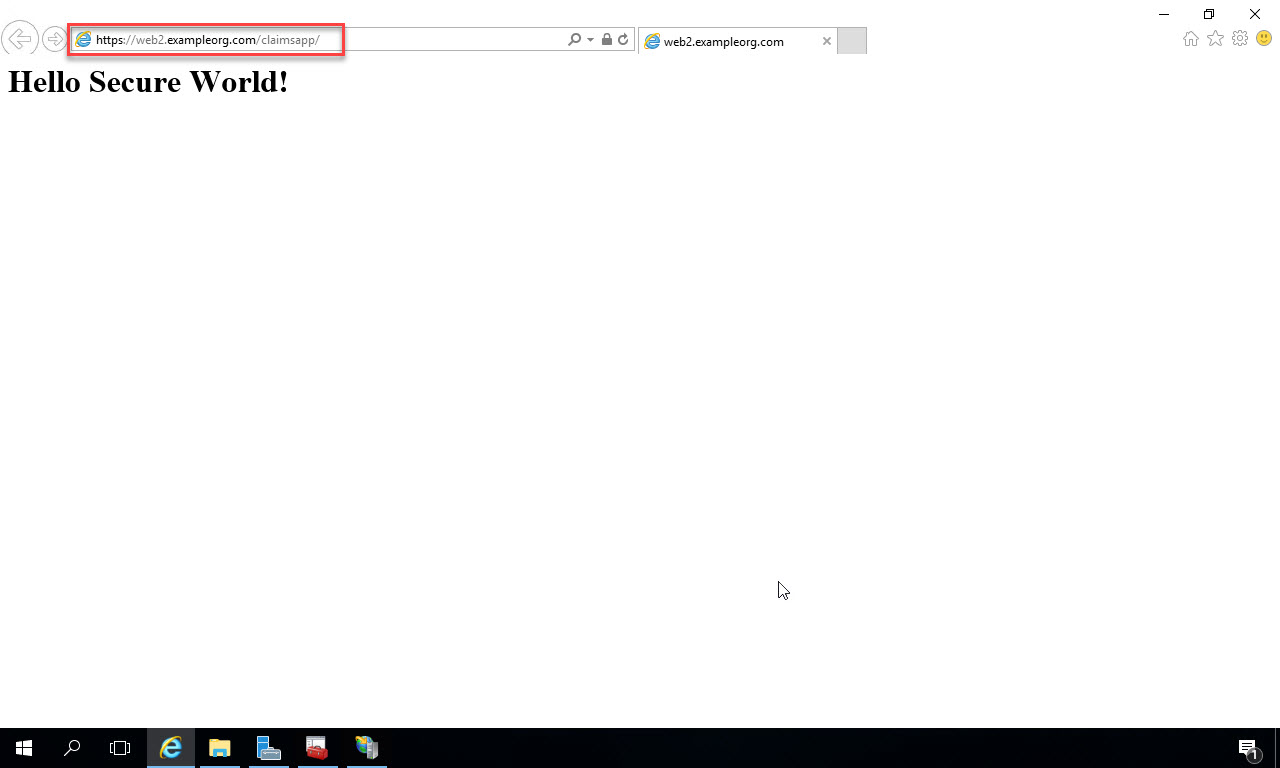
Now open up a browser window and type the URL to the site. With the configuration I’ve done in this example on my network and web server, the address is https://web2.exampleorg.com/claimsapp. I suggest doing this from a browser on the local web server first, then do it from another computer on the network to ensure connectivity. You should see the default.html page that you created:
Deploy ADFS relying party application
Ok, now we’ve tested that the web app is configured correctly in IIS, we’re ready to deploy the web app code that will be protected with ADFS. You can download the app code from the course downloads for my Pluralsight course, or create the app yourself from this blog post. I’ve downloaded the code to my local machine, so I’ll select and copy it to the clip board:
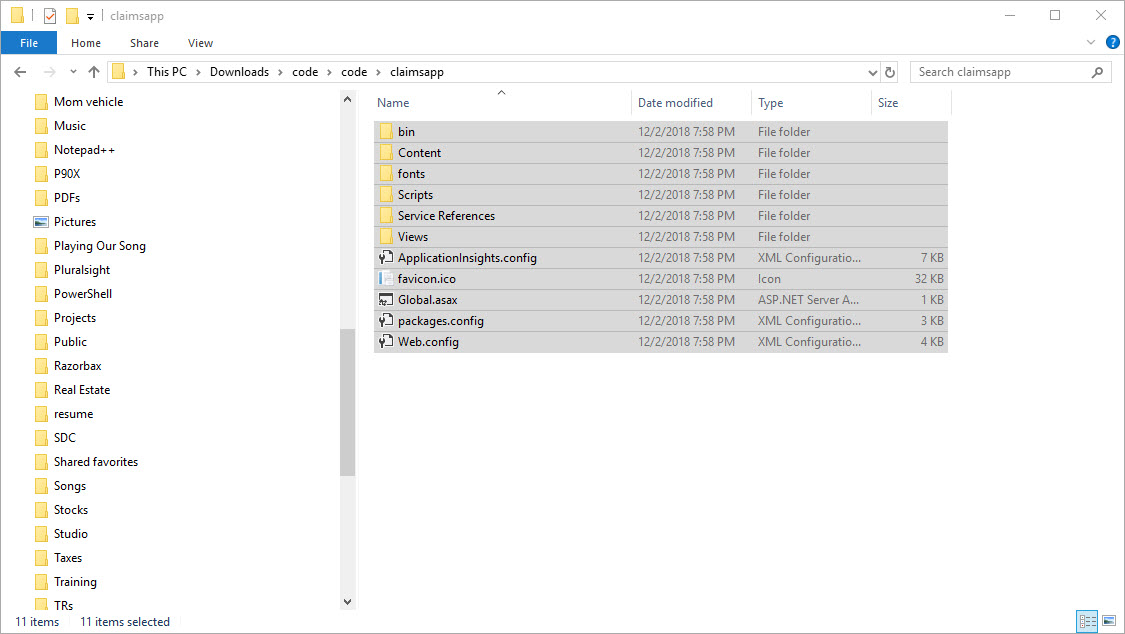
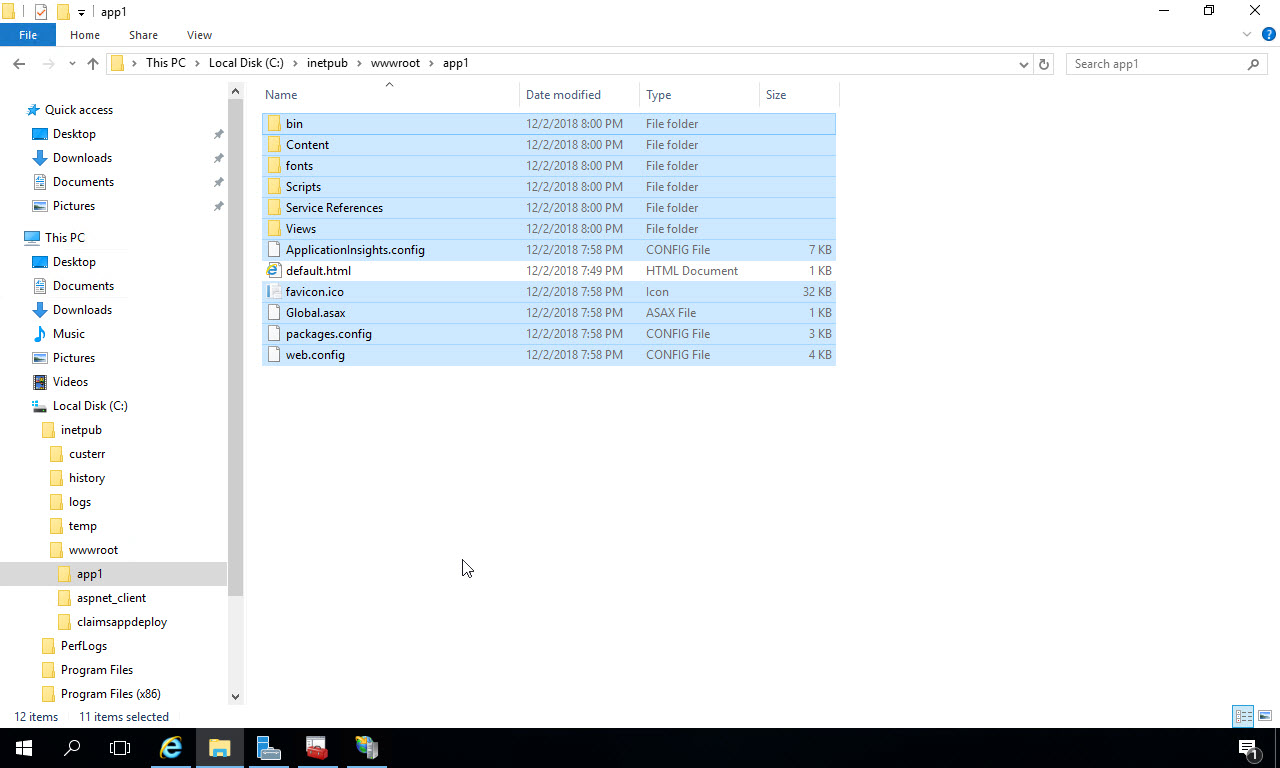
Now on the web server VM you’ve been configuring, navigate to the web application folder where you deployed your test file and paste in the files for the ADFS app:
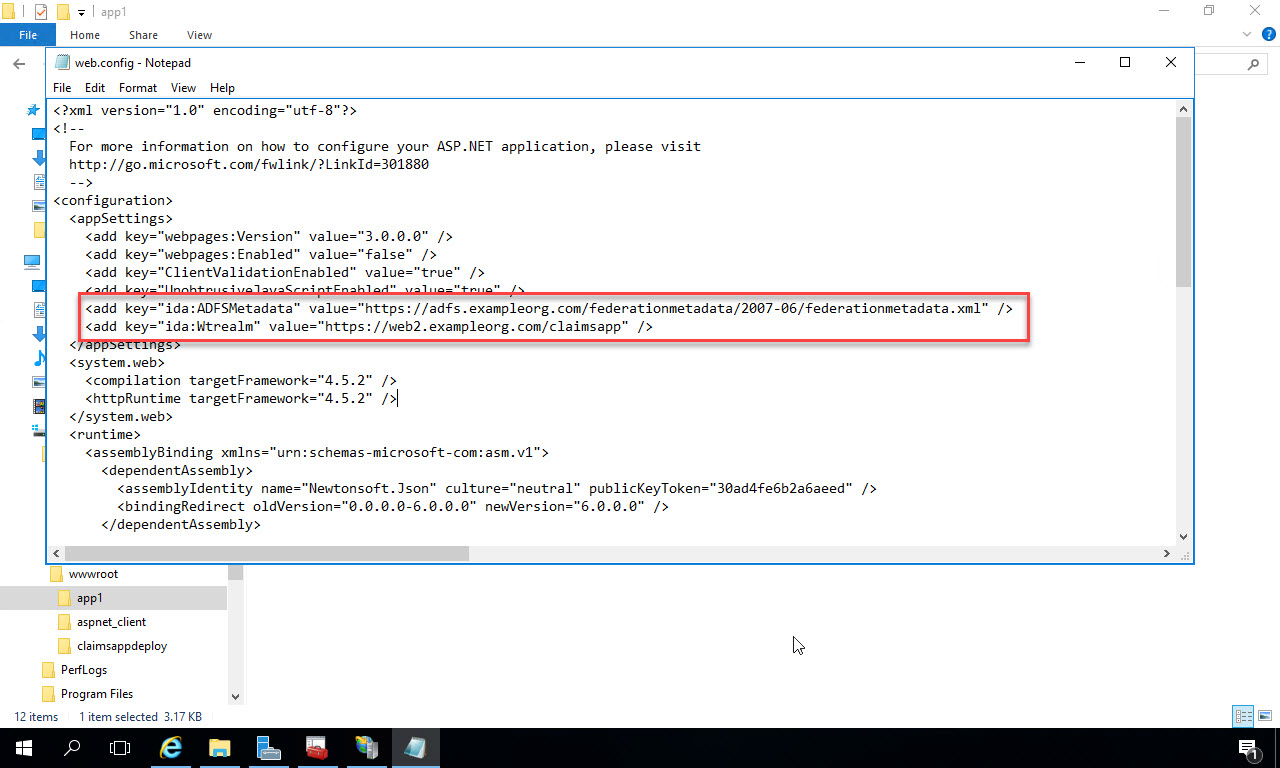
Next, let’s configure the web.config. Right click on the web.config file and Open with Notepad (or your favorite text editor):

In the web.config file, change the value of the key “ida:ADFSMetadata” to point to the ADFS server in your environment. Change the value of the key “ida:Wtrealm” to the URL of your web app. In order for all this to work, you need to have a Relying Party configured in ADFS for this application that will recognize the Wtrealm value. For details on how to configure ADFS, either see my Pluralsight course, or you can get the configuration information again from this blog post.
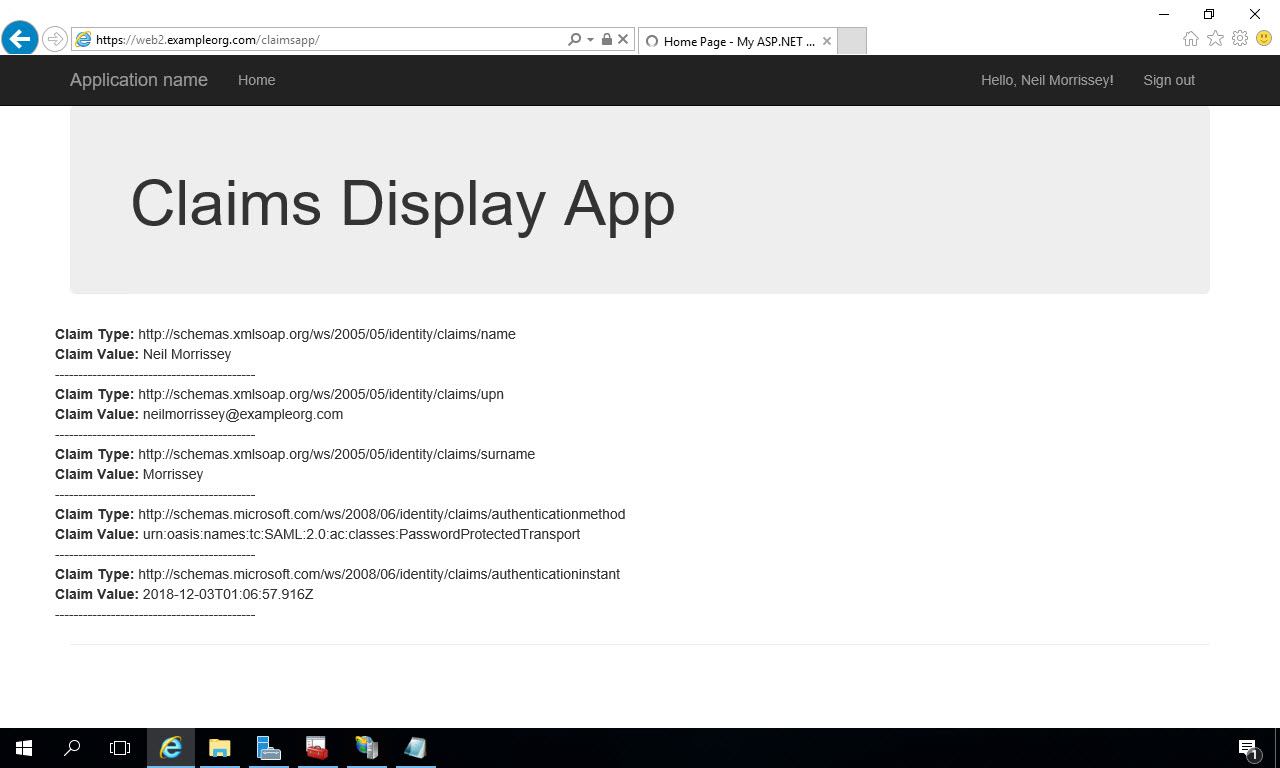
Now if you open a browser and type in the URL to your web app (i.e. https://web2.exampleorg.com/claimsapp), you get redirected to the ADFS login page. Enter the credentials of a user you’ve configured in Active Directory and click “Sign In”:
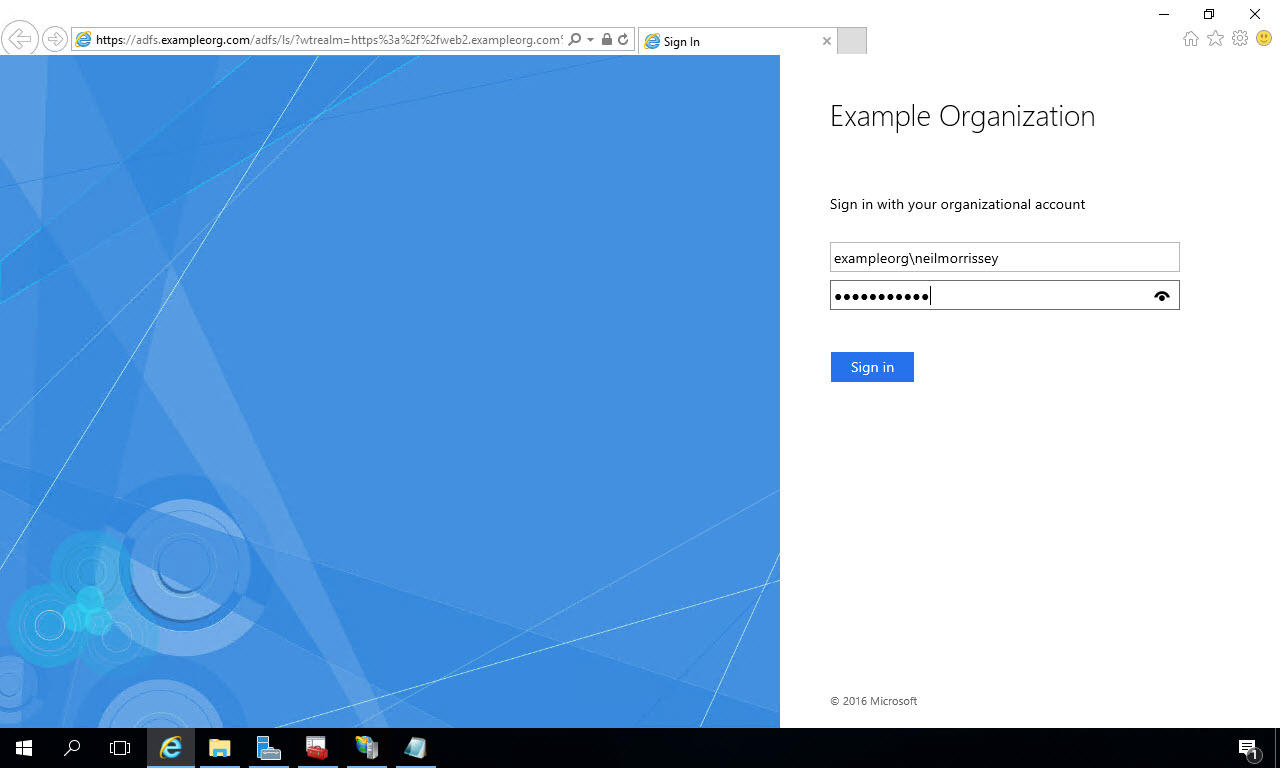
If the login is successful, ADFS will redirect you back to your deployed application where the claims you’ve configured the Relying Party (in ADFS) to return are displayed: